Call in the airbrushed support...
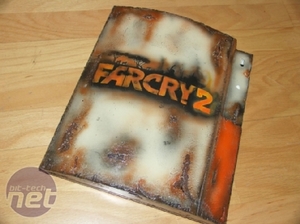
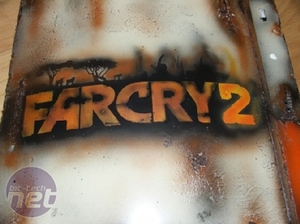
Once I had finished attacking the poor Playstation 3's casing, it was time to start painting it - I started by laying down a solid base coat of cream on the casing and also the war-torn front aluminium shield.While that was drying, I created a stencil of a savannah that would form the silhouette behind the Far Cry 2 logo. I airbrushed this onto both the front of the Playstation 3 casing and also onto the battle damaged armour plating as well.
After completing this, I left it to dry for a while.
Upon returning, it was time to start adding a bit of realism to the bullet holes in the armour plating - I scratched some of the paint off around the holes, giving them a realistic and more authentic look. I also used a heatgun to burn some of the paint around the edges as well, to give it a more textured feel.
The final touch was to get out the airbrush and add all the extra little details to really bring the mod together and give it that rusted and scarred appearance that just using the Dremel couldn't really accomplish on its own. I did the same for the shield panel too, making the whole mod feel more polished before adding the final Far Cry 2 logo as another stencil onto the previously applied black background.
The final touches were added with the gentle use of a heat gun to give the paint job a more textured appearance, before adding the final stencils of the Ubisoft logos onto the PS3 and front shield and finally rebuilding the whole thing once the paint had fully dried before placing it into its stand on the completed base.

MSI MPG Velox 100R Chassis Review
October 14 2021 | 15:04


Want to comment? Please log in.