

MODDING: RHEOBUS
Remember this rheobus from Sunbeam? It is time to finish it.
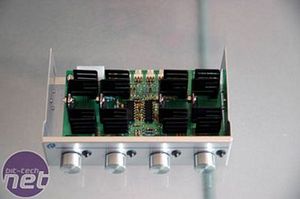
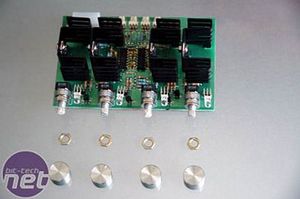
After dismantling the potentiometers and heatsinks, the pots had to be attached to the frontplate. For an extra touch, I came up with a little idea:
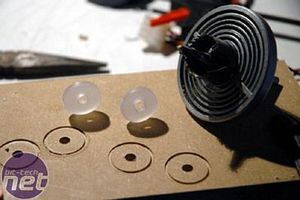
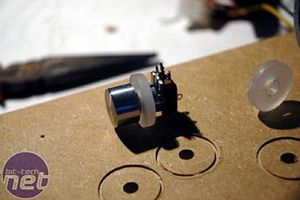
With this drillbit (don\'t know the name) I made four small circles out of the white frosted plexi. These circles will be mounted behind the aluminium knobs and will be lit by a 3mm LED.
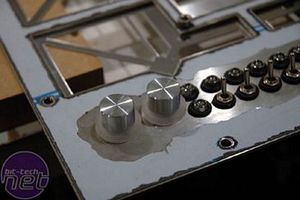
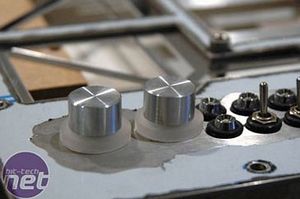
They look something like this. I need to clean them up a little, but you get the picture
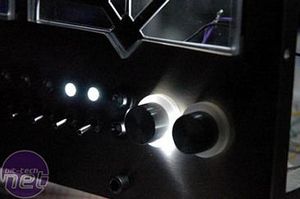
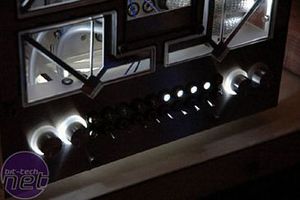
I drilled a small hole in the Stainless Steel and placed an LED behind the plexi. The result looks like this, and it is very bright. The LED is connected to the potentiometer, so it fades out if the pot is turned down.
Now I got into a little bit of trouble because the wiring to the potmeters and switches was very visible - I had used all kinds of colors and it was a real mess. I had to come up with a solution to this problem, but there wasn\'t much space behind the rheobus to do very much.
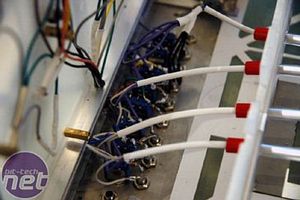
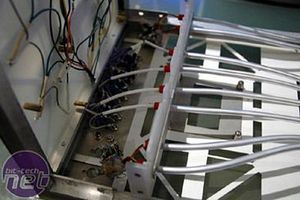
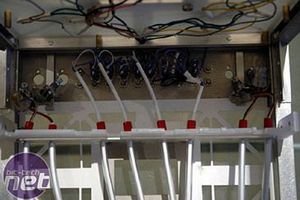
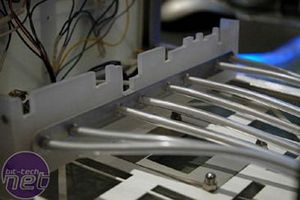
The solution: make a plexiplate that covers all the wires... but there was no room for that - the plate had to mount on top of the motherboard. That\'s why there are all these gaps in the plate - it\'s the room I needed for the capacitors and things. (In the picture you see the plate upside down, and in the rear bottom of the case)
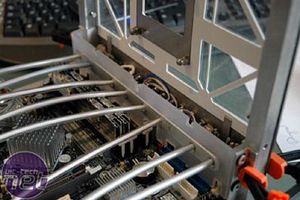
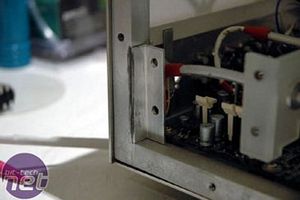
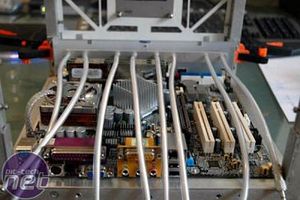
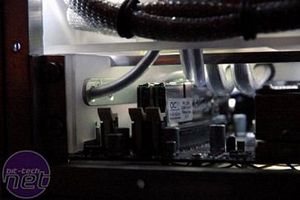
When it\'s in place its looks like this. I glued two L-shaped bars to the case with metal glue - that way I can easily unscrew the plate. The small notches at the top are for the core to rest in. There are 8 wires coming out of the plate - they all have 3.5mm jacks at the end and they connect with the frontside of the core.

MSI MPG Velox 100R Chassis Review
October 14 2021 | 15:04


Want to comment? Please log in.