

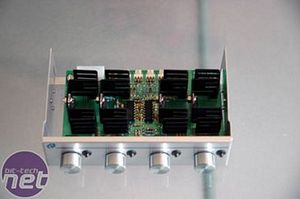
MESSING UP A GOOD RHEOBUS
I really don\'t know a thing about electronics, but I really wanted a Rheobus to control the lights and fans, so I decided to try and convert a retail rheobus from SUNBEAM into my own.
I\'m getting used to dismantle things, and it really feels good :-) The trick is to put them back together and have them still work!.
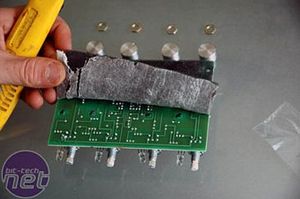
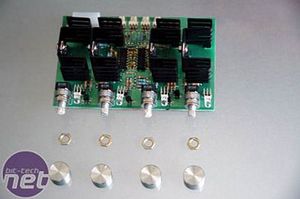
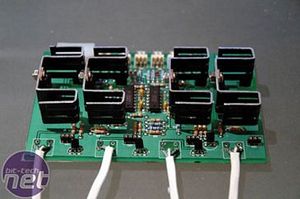
Looking at the victim, the potentiometers have to come off, and need to be lengthened with cables. I had to do this twice because the first time it didn\'t work out how I had hoped. The first time, I tried to solder the pots out - this proved harder than I thought and ended up with a dead rheobus; it was almost impossible to solder wires back on the PCB. As a result, I bought a new one and tried again, with a different technique. This time I used a knive to cut the pots off. This was the way to go - it was now very easy to solder the wires back on.
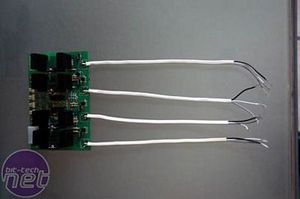
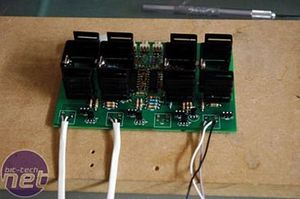
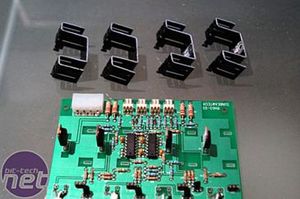
Here is my new wiring, and I removed the heatsinks - there isn\'t a lot of space next to the PSU in the core, so I need to cut them down to size.
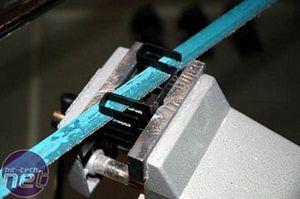
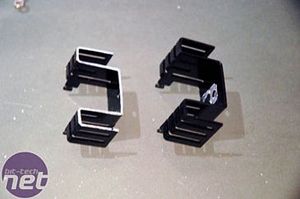
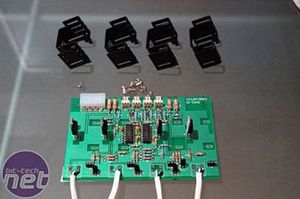
A few minutes later, and my trusty hacksaw has done the business - four new low-profile heatsinks.
Everything back in place, and now the rheobus will fit next to the PSU.


MSI MPG Velox 100R Chassis Review
October 14 2021 | 15:04

Want to comment? Please log in.