
[center]
[/center]
SLEEVING: PSU
The PSU needed a little work - a lot of the wiring is already done, but the ATX cable still remains. I spend a lot of time thinking about how I was going to do the sleeving, where it should run and things like that. It seemed that I didn\'t have a lot of choice. And the solution was again very simple.
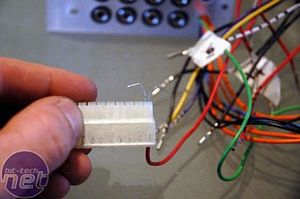
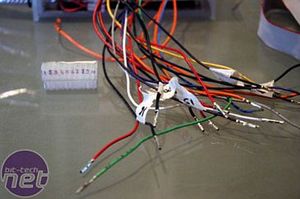
Before I could sleeve the ATX cable I needed to get the wiring out of the plug. After searching on Google, I found out the easiest way was to buy a special ATX removal tool. Because I didn\'t have that and I couldn\'t wait any longer I searched on. I found another method, even simpler and less expensive: STAPLES. Just take two staples, bend one leg over (you get an L shape) and put the two staples in the plug and give it a gentle press. With a little luck the cable comes out.
Before attempting this, make sure you know where every cable has to go - notice I marked all the cables with numbers and did the same on the ATX plug.
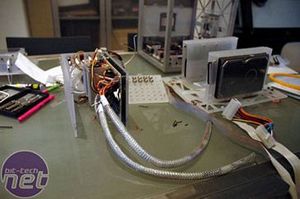
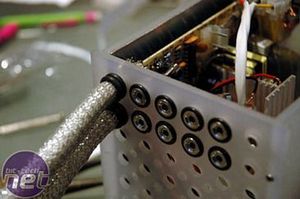
The sleeving is the same technique I used on the rear 40mm fans.
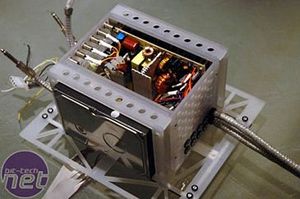
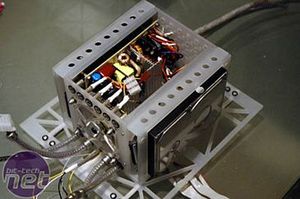
These overhead shots show what I was attempting: the ATX power leads were divided into two bundles, sleeved and passed through holes to the right; you can see the power for the drives poking out the left of the core
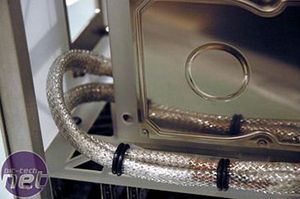
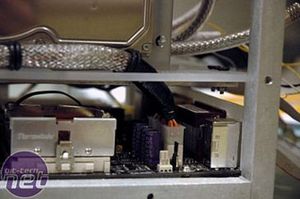
However, things weren\'t quite as perfect as that: the ATX cable was 5cm too short! As you can see from the photos, everything needed to be exactly the right length, so I took an old PSU and cut the ATX power lead. I needed an extra 5cm, so I trimmed the wires to length and soldered each wire to the corresponding wire on my existing bundle.
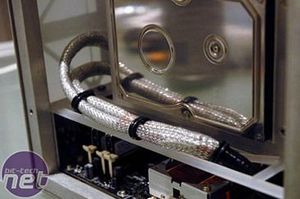
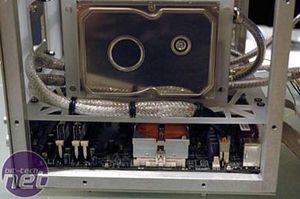
The result was perfect, and no-one need know - it can be our little secret! ;)

MSI MPG Velox 100R Chassis Review
October 14 2021 | 15:04


Want to comment? Please log in.