
Foreword
by Brett ThomasSleepstreamer, aka Max or "Mad Max", is easily one of the most talented of modders on the bit-tech rolls. His high-tech and heavy-industry projects tend to take his chosen materials (acrylic and aluminum) to a whole new level.
Max first washed up on our shores back in 2006 when he brought us his amazing project Cold Fusion. At the time, there was really nothing like it - even Pete "G-gnome" Dickison had to offer up a congratulatory comment on the incredible blend of styles.
Since that time, Cold Fusion has become an icon in its own right in the "new" modding world, alongside creations like Greensabbath's Yuugou or Wolverine's Pentagram HTPC. And since that time, he's improved on his own work with the impressive Hangar 101.
Well, it's been another year now - and so it's just about time for our resident Mad Max to get another project to us. And indeed, he has - so without any further ramblings from me, it's time to turn the microphone over to our very own Sleepstreamer, who will present MCE2.0.
Introduction
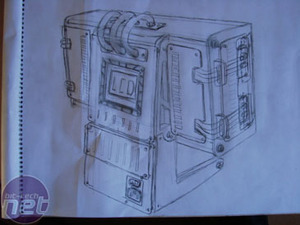
I guess it's now time for the second swede here to do his duty, and it's certainly been a while since last time. I'm very happy with all of my previous builds, but they're all missing one feature: portability, and that's mainly what I'm hoping to achieve with this build.I'll use the "Industrial-tech" theme I created for my first mod, Cold-Fusion. Below, you can see a sketch of how I was wanting the completed case to look. This was made a while before I started building though. The design also changed several times during the building process, you'll probably notice that later on.
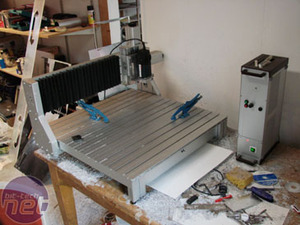
One thing that's entirely new for me is my new CNC Mill, which I've never before used for building Scratch-builds. I suspect many of you want to see what the CNC Mill looks like, so here's the one & only picture of it you'll get (wouldn't want to use up precious space in the article now would I?).
The question is, will it make it any easier? We'll see... Let's get started.
The Screen
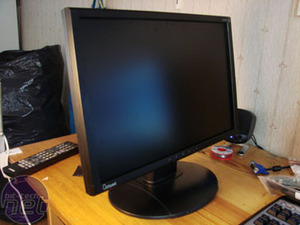
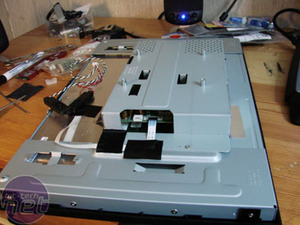
I fired off this project by hacking up a perfecly good Viewsonic 19" Wide LCD monitor. Hey, that's what they're for, right?There's always a problem with these builds since all monitors are different on the inside. I decided to use the holes that are supposed to be used with a wallmount, to get the motherboard in place.
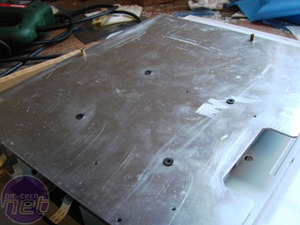
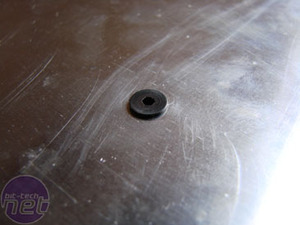
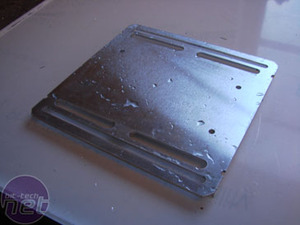
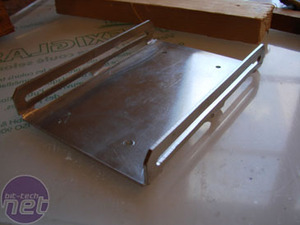
Top - The motherboard tray is attached to the monitor's wall-mount holes; Bottom - The single HDD cage is crafted.
Click to enlarge.
And so, a plate for the motherboard was made and fitted, as well as a single HDD-Cage. And so, feeling very confident, I moved on to...

MSI MPG Velox 100R Chassis Review
October 14 2021 | 15:04



Want to comment? Please log in.