
The Sides
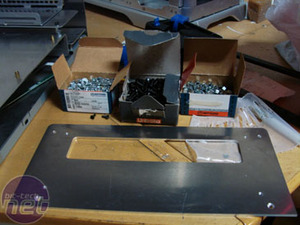
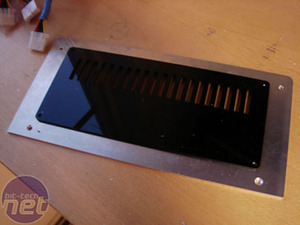
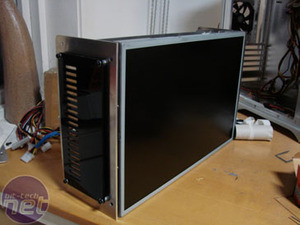
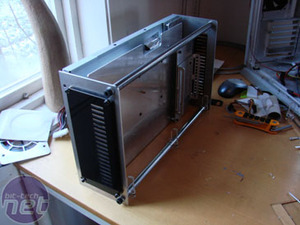
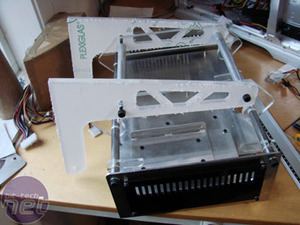
Due to the stange shape, and the fact that I can't screw into the screen itself without ruining it, the sides had to carry almost the entire weight of the computer.
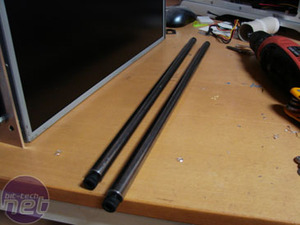
To allow for this, I used 3mm aluminium for them, as well as two solid steel bars to help hold everything together. The looks of the sides later went trough some cosmetic changes, but the underlying 3mm plates have stayed the same.
The bars that hold the weight of the build were actually made in a CNC-controlled lathe at my work, but could (with a bit more effort, of course) also be made using normal hand-tools. They are about 45cm long and has a M8 thread in each end. The small acrylic pieces you see in this picture are one of the changes i spoke about during the introduction, they were removed further into the build (so pretend they aren't there).
The Base
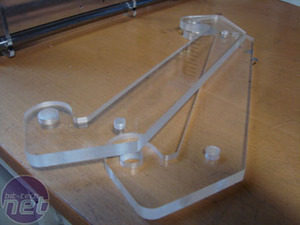
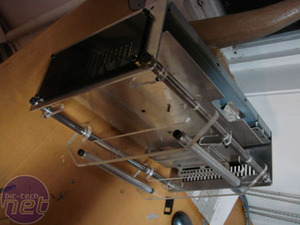
This is quite a crucial part of the project, since the legs, or stand, would be the thing to take the most punishment from the weight, aswell as providing a frame to mount the casing panels on. First off, I wanted to use 10mm aluminium for the whole thing, but since I was unable to get the amount of material I needed I had to use something else -acrylic.These are the parts that will keep the computer fastened to the stand, as well as providing a bit of tilt-action. This is 10mm Acrylic. To give them a bit more strength, I put two aluminium rods in between.
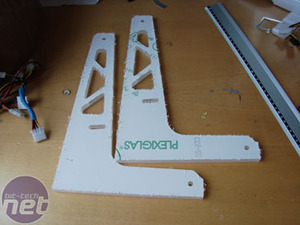
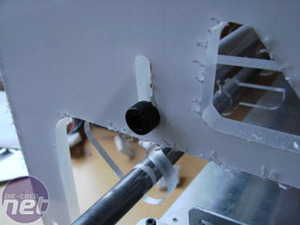
Here are the legs I made, also made from 10mm Acrylic. The small slide you see on there is designed to make the screen have a tilt adjustment.
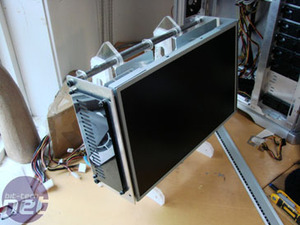
It's now standing up by itself!

MSI MPG Velox 100R Chassis Review
October 14 2021 | 15:04



Want to comment? Please log in.