Fan Controller
After the last bout of modding, the Fan controller was almost finished ... but not quite.
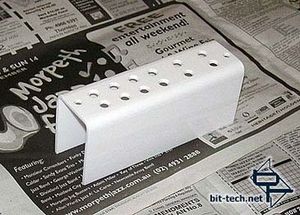
As mentioned previously, I had made a cover for the rear of the fanbus out of 3mm white acrylic. You can see it here in all its naked glory. This was cut and then bent using a heat-gun, clamps and the edge of my \'workmate\'-style table. I practiced on some scrap first and the final cover was the second one made as the first wasn\'t quite 90 degree angles. I smoothed the edges and drilled holes with a plexi drill and used a countersink to chamfer the edges. The thickness of the plexi meant chamfering was essential in order to fit the mono jack sockets as the length of the thread was too short to allow the nut to bite the thread otherwise. Once it was all finished I sent it away...
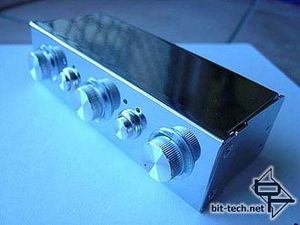
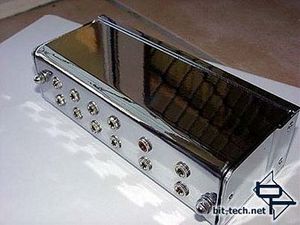
...and got it chromed. I had thought about silver vinyl dye but all the great comments I have gotten on the chrome in these and other forums swayed me to open my screaming wallet (noooooo...) to get a few more pieces done (you\'ll see the others in later articles). In place and with dome nuts fitted to the bolts I had previously fitted to the PCB inside.
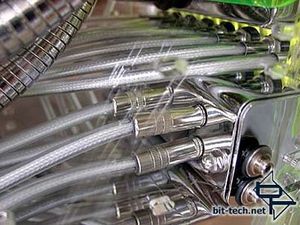
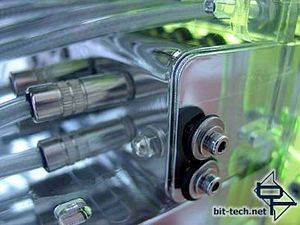
The cover fitted. The fan controller is the now repaired one that I shorted a while ago. Oh well, we live and learn. In place with power and fans plugged in. I believe the chrome really makes a difference when placed next to the other chrome surfaces. They each reflect the other (and all the lighting!).
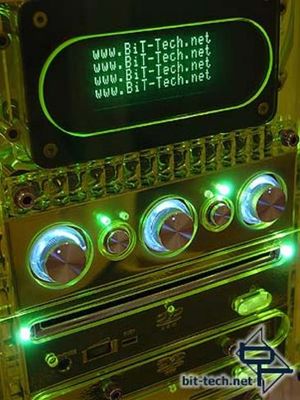
Powered up you can see the glowing rings around the knobs and the green/white LEDs I added (the fanbus originally having all-blue LEDs). The Fiber-Optic position indicators I had made previously show up well.
After the last bout of modding, the Fan controller was almost finished ... but not quite.

As mentioned previously, I had made a cover for the rear of the fanbus out of 3mm white acrylic. You can see it here in all its naked glory. This was cut and then bent using a heat-gun, clamps and the edge of my \'workmate\'-style table. I practiced on some scrap first and the final cover was the second one made as the first wasn\'t quite 90 degree angles. I smoothed the edges and drilled holes with a plexi drill and used a countersink to chamfer the edges. The thickness of the plexi meant chamfering was essential in order to fit the mono jack sockets as the length of the thread was too short to allow the nut to bite the thread otherwise. Once it was all finished I sent it away...


...and got it chromed. I had thought about silver vinyl dye but all the great comments I have gotten on the chrome in these and other forums swayed me to open my screaming wallet (noooooo...) to get a few more pieces done (you\'ll see the others in later articles). In place and with dome nuts fitted to the bolts I had previously fitted to the PCB inside.


The cover fitted. The fan controller is the now repaired one that I shorted a while ago. Oh well, we live and learn. In place with power and fans plugged in. I believe the chrome really makes a difference when placed next to the other chrome surfaces. They each reflect the other (and all the lighting!).

Powered up you can see the glowing rings around the knobs and the green/white LEDs I added (the fanbus originally having all-blue LEDs). The Fiber-Optic position indicators I had made previously show up well.

MSI MPG Velox 100R Chassis Review
October 14 2021 | 15:04


Want to comment? Please log in.