DVD Drives Cover
For the front bezel covering the DVD drives I wanted to use more of the neon green plexi. I had decided to make a one-piece cover over both the drives to simplify things a little. I also dispensed with openings for the volume/headphone sockets on the drives as I never use these.
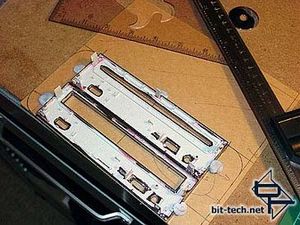
With the assistance of the front bezels from the actual drives...
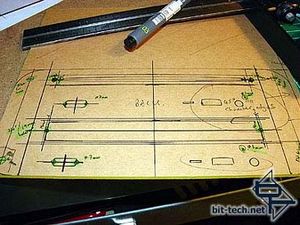
... I ruled up a piece of plexi and marked all the slot, tray and button positions.
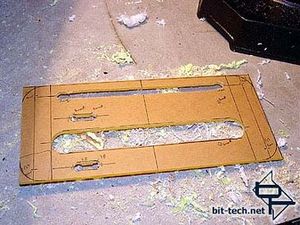
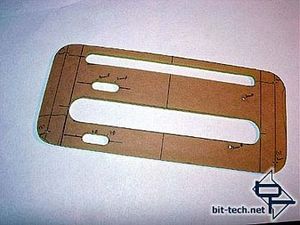
Using a small holesaw and plexi drills I drilled rounded ends and cut out the long sides of the slots with a dremel. The outside of the panel was cut using a hacksaw. It looked a lot better once it had been filed and sanded! When filing the very thin part at the top of the cover I had to make up a brace to support it to avoid breaking this piece, which I of course managed to do with the first of these I made - right at the end when filing the last bit as well! One way to waste a few hours of hard work!
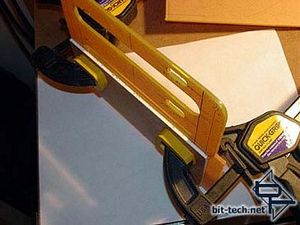
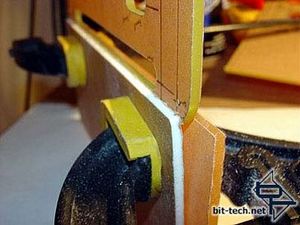
The brace was made using two pieces of 3mm plexi clamped on either side of the narrow part. It worked great (phew)!
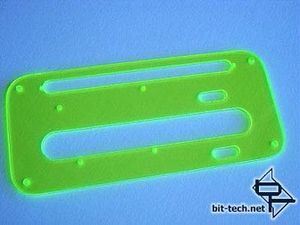
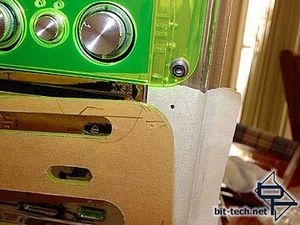
Here is the finished front cover. The openings for the eject buttons were filed out using needle files and holes for the LED heads to fit into were drilled part way through the cover. I drilled holes for the Manual Ejection Device (aka \'Paperclip\') to go through and drilled some pilot holes for mounting to the front of the case. The small pilot holes allowed me to use the cover as a template and mark accurate mounting holes in the case front. These pilot holes were later drilled out to 4mm along with the case itself.
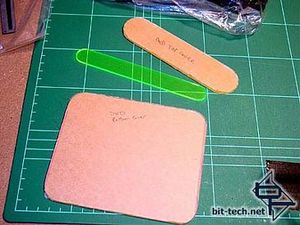
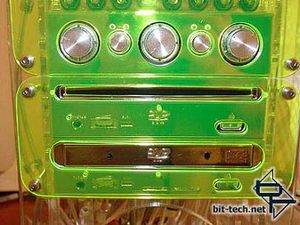
I made a cover for the end of the DVD-R/RW tray - seen here with the top and bottom panels for the drives. This was made so that there was approx 1mm clearance between the tray end piece and the opening in the cover.
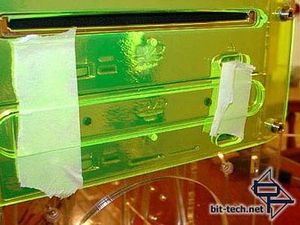
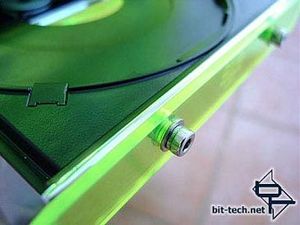
The end piece taped carefully into position maintaining the 1mm gap all around. A permanent marker marks the holes. It was then drilled and fitted to the tray using stainless steel socket head cap screws (as also described in the DVD-R/RW mods).
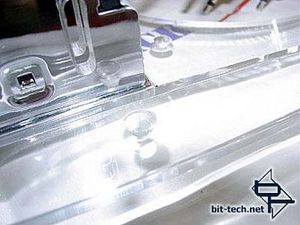
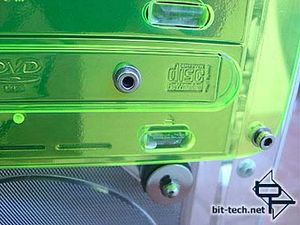
The rear of the case mounting holes were drilled out to allow the nuts to be recessed when the front panel is mounted.
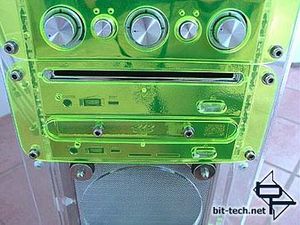
Finished.
For the front bezel covering the DVD drives I wanted to use more of the neon green plexi. I had decided to make a one-piece cover over both the drives to simplify things a little. I also dispensed with openings for the volume/headphone sockets on the drives as I never use these.

With the assistance of the front bezels from the actual drives...

... I ruled up a piece of plexi and marked all the slot, tray and button positions.


Using a small holesaw and plexi drills I drilled rounded ends and cut out the long sides of the slots with a dremel. The outside of the panel was cut using a hacksaw. It looked a lot better once it had been filed and sanded! When filing the very thin part at the top of the cover I had to make up a brace to support it to avoid breaking this piece, which I of course managed to do with the first of these I made - right at the end when filing the last bit as well! One way to waste a few hours of hard work!


The brace was made using two pieces of 3mm plexi clamped on either side of the narrow part. It worked great (phew)!


Here is the finished front cover. The openings for the eject buttons were filed out using needle files and holes for the LED heads to fit into were drilled part way through the cover. I drilled holes for the Manual Ejection Device (aka \'Paperclip\') to go through and drilled some pilot holes for mounting to the front of the case. The small pilot holes allowed me to use the cover as a template and mark accurate mounting holes in the case front. These pilot holes were later drilled out to 4mm along with the case itself.


I made a cover for the end of the DVD-R/RW tray - seen here with the top and bottom panels for the drives. This was made so that there was approx 1mm clearance between the tray end piece and the opening in the cover.


The end piece taped carefully into position maintaining the 1mm gap all around. A permanent marker marks the holes. It was then drilled and fitted to the tray using stainless steel socket head cap screws (as also described in the DVD-R/RW mods).


The rear of the case mounting holes were drilled out to allow the nuts to be recessed when the front panel is mounted.

Finished.

MSI MPG Velox 100R Chassis Review
October 14 2021 | 15:04


Want to comment? Please log in.