HDD Rack - Fitting it in
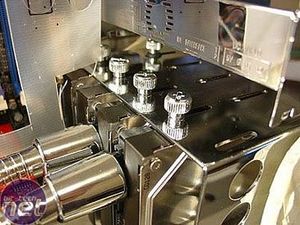
This is an old picture I posted in the forums many months ago to show how the power cables looked plugged into the Hard Drives. I was also dropping a sneaky clue as to how I was going to 'stealth' the motherboard - a subject of wild speculation at the time. Only one person picked up on the significance of it, and even then they were a little off the mark, but still close. This picture also shows how the HDD rack sits under the edge of the motherboard cover. When I had installed the finished cover, I found it sat about 4mm below the position it occupied in test-fitting. Probably the mounting holes were drilled slightly lower than planned. This resulted in the HDD rack not sliding all the way into position, hitting the motherboard cover instead. Conundrum. I decided the easiest path was to cut into the HDD rack, removing a section to allow it to fit.
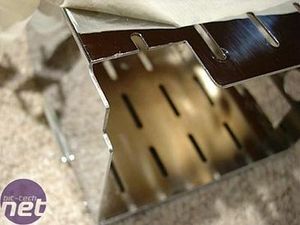
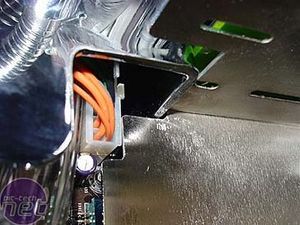
Using a Dremel and then cleaning up with needle files, a section was removed. The Dremel slipped a bit on the top edge leaving a mark, but fortunately that edge won't be visible when the rack is installed. With the HDD rack in-place it becomes obvious just how tight the fit is! The question of "why only 3 cables for 4 HDD?" was asked earlier in the project and can now be answered. One of the HDDs ends up sitting right underneath the edge of the cover. This is the HDD that draws it's power from the cables going into and behind the motherboard - hence why there are only three shower-hose cables visible in the final mod plugging into the HDDs.
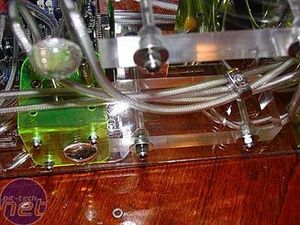
The base of the rack was finally secured by stainless washers and dome-nuts.
IDE Cables
IDE cables were always going to be a problem for me. I had some rounded, clear, silver-mesh insulated cables I wanted to use in the project, The blue-tinted UV reactive ends and brightly coloured wires and plugs had to go though!
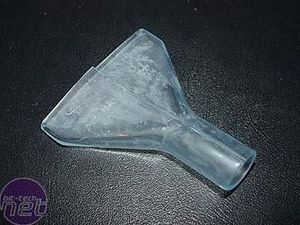
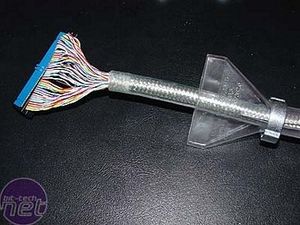
I cut off the tinted, cloudy end covers and...replaced them with ultra clear covers from another set of IDE cables I had lying around. These were slipped on after making a partial cut in the new cover and working the plug through lengthwise.
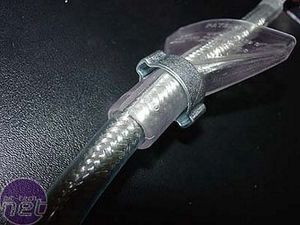
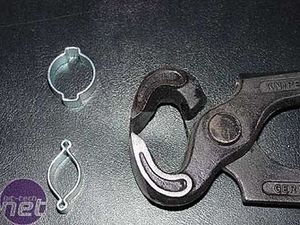
To join the new covers together again and to add some interest to the cable I opted for metal permanent hose-clamps. These are the sort that are pinched shut using a pair of pincers like those shown.
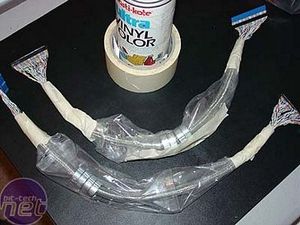
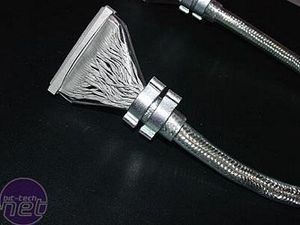
To get rid of the nasty brightly-coloured wires I masked the ends off and vinyl dyed them silver. When the ends were clamped the cables came up nice.
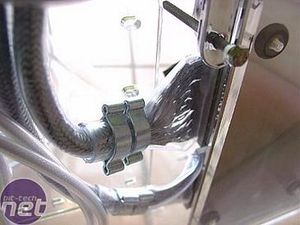
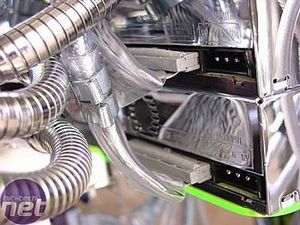
Now they look like they belong! The other ends were plugged in to the DVD drives. However, once all the watercooling and shower hoses are routed over the backs of the DVD drives, these plugs are completely hidden.
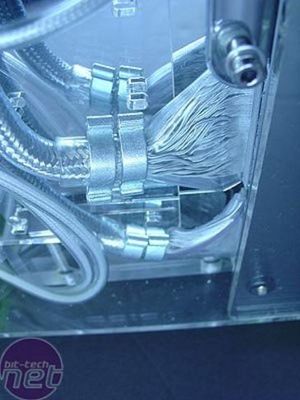
The final result once plugged into the edge-facing IDE connectors on the motherboard.

This is an old picture I posted in the forums many months ago to show how the power cables looked plugged into the Hard Drives. I was also dropping a sneaky clue as to how I was going to 'stealth' the motherboard - a subject of wild speculation at the time. Only one person picked up on the significance of it, and even then they were a little off the mark, but still close. This picture also shows how the HDD rack sits under the edge of the motherboard cover. When I had installed the finished cover, I found it sat about 4mm below the position it occupied in test-fitting. Probably the mounting holes were drilled slightly lower than planned. This resulted in the HDD rack not sliding all the way into position, hitting the motherboard cover instead. Conundrum. I decided the easiest path was to cut into the HDD rack, removing a section to allow it to fit.


Using a Dremel and then cleaning up with needle files, a section was removed. The Dremel slipped a bit on the top edge leaving a mark, but fortunately that edge won't be visible when the rack is installed. With the HDD rack in-place it becomes obvious just how tight the fit is! The question of "why only 3 cables for 4 HDD?" was asked earlier in the project and can now be answered. One of the HDDs ends up sitting right underneath the edge of the cover. This is the HDD that draws it's power from the cables going into and behind the motherboard - hence why there are only three shower-hose cables visible in the final mod plugging into the HDDs.

The base of the rack was finally secured by stainless washers and dome-nuts.
IDE Cables
IDE cables were always going to be a problem for me. I had some rounded, clear, silver-mesh insulated cables I wanted to use in the project, The blue-tinted UV reactive ends and brightly coloured wires and plugs had to go though!


I cut off the tinted, cloudy end covers and...replaced them with ultra clear covers from another set of IDE cables I had lying around. These were slipped on after making a partial cut in the new cover and working the plug through lengthwise.


To join the new covers together again and to add some interest to the cable I opted for metal permanent hose-clamps. These are the sort that are pinched shut using a pair of pincers like those shown.


To get rid of the nasty brightly-coloured wires I masked the ends off and vinyl dyed them silver. When the ends were clamped the cables came up nice.


Now they look like they belong! The other ends were plugged in to the DVD drives. However, once all the watercooling and shower hoses are routed over the backs of the DVD drives, these plugs are completely hidden.

The final result once plugged into the edge-facing IDE connectors on the motherboard.

MSI MPG Velox 100R Chassis Review
October 14 2021 | 15:04


Want to comment? Please log in.