Fans and Fittings, Cables and Covers...
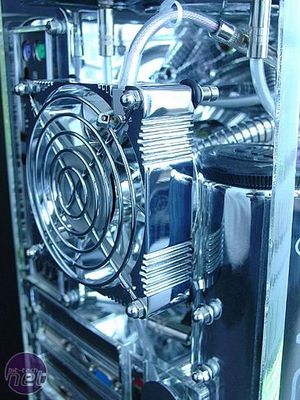
The chromed, externally-mounted rear fan. And yes, that is a rubber oil cap on top of the junction cylinder!
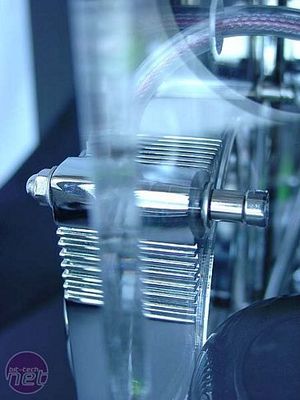
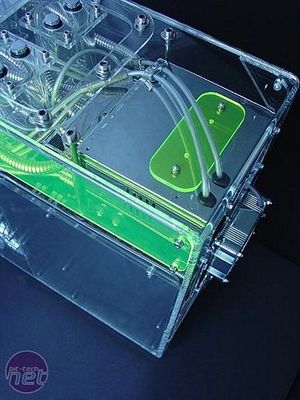
The fan is cushioned with rubber grommets, mounted with long stainless steel bolts with the power cable running back into the case. I was happy with the way the fan looked mounted externally. It adds a little more interest to the outside, and a lot more room inside! Here you can start to see the chromed panel I made to conceal the rear of the motherboard. Its exactly the same width as the green perspex panel above it, with matching radiused corners. I notice the green perspex looks 'milky' in the photos. For a better idea of what it looks like to the naked eye, take a look at the panel on top of the PSU in the pic above.
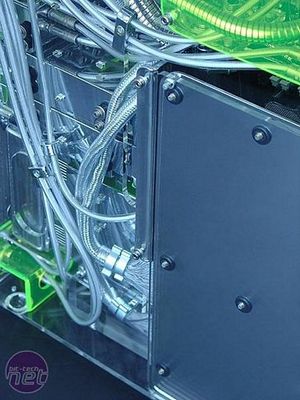
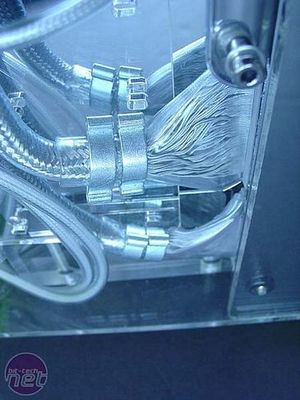
The chrome back panel is secured by the motherboard stand-offs which pass through rubber grommets. It butts up against the edge of the chrome cover concealing the motherboard from the other side. The modded IDE cables are also visible. One of the deciders in acquiring that particular motherboard was the edge-on IDE connectors. These helped with the cable routing immensely!
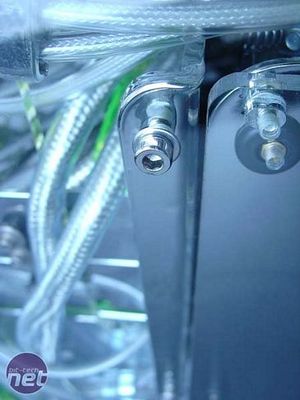
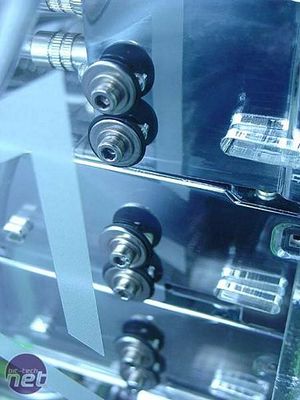
Fasteners were important throughout the project. I even used my own screw/washer combinations for things like the drive bays. I had to polish and cut-to-size so many stainless steel socket-head screws and washers (around 400 or so) I used over 20 Dremel cutting wheels, wore out 2 hacksaw blades and had to invest in a buffing wheel for my bench-grinder! My personal philosophy is that it's all the details combining in a mod that can take it to that next level. All fasteners were originally a dull grey and had to be polished to a mirror-bright finish before I was happy to use them.
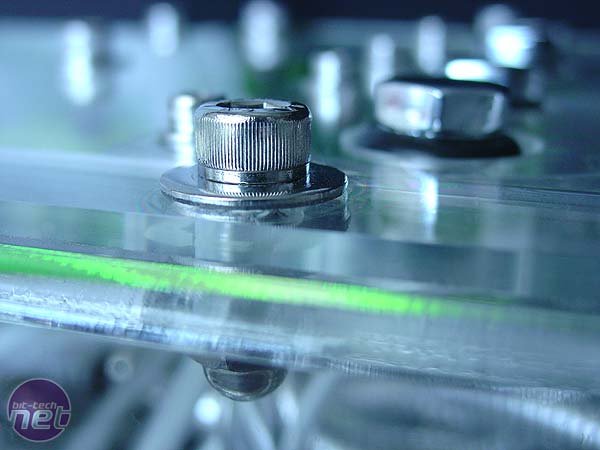
Polished 1/4" socket-head screws on the top plate.
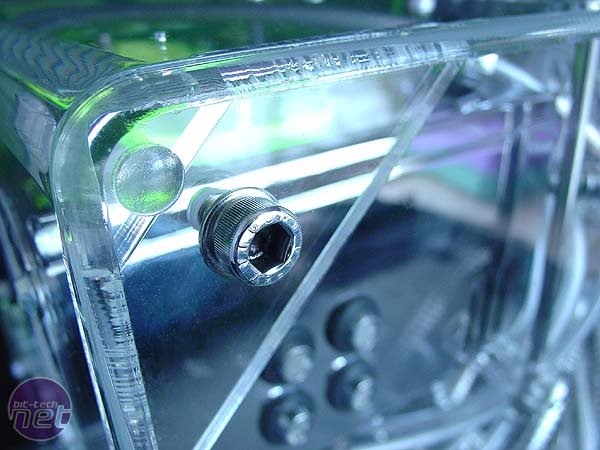
1/4" screws holding the side-panel on. The original ones were translucent plastic thumbscrews. I re-tapped the holes with new threads to take the steel screws.

The chromed, externally-mounted rear fan. And yes, that is a rubber oil cap on top of the junction cylinder!


The fan is cushioned with rubber grommets, mounted with long stainless steel bolts with the power cable running back into the case. I was happy with the way the fan looked mounted externally. It adds a little more interest to the outside, and a lot more room inside! Here you can start to see the chromed panel I made to conceal the rear of the motherboard. Its exactly the same width as the green perspex panel above it, with matching radiused corners. I notice the green perspex looks 'milky' in the photos. For a better idea of what it looks like to the naked eye, take a look at the panel on top of the PSU in the pic above.


The chrome back panel is secured by the motherboard stand-offs which pass through rubber grommets. It butts up against the edge of the chrome cover concealing the motherboard from the other side. The modded IDE cables are also visible. One of the deciders in acquiring that particular motherboard was the edge-on IDE connectors. These helped with the cable routing immensely!


Fasteners were important throughout the project. I even used my own screw/washer combinations for things like the drive bays. I had to polish and cut-to-size so many stainless steel socket-head screws and washers (around 400 or so) I used over 20 Dremel cutting wheels, wore out 2 hacksaw blades and had to invest in a buffing wheel for my bench-grinder! My personal philosophy is that it's all the details combining in a mod that can take it to that next level. All fasteners were originally a dull grey and had to be polished to a mirror-bright finish before I was happy to use them.

Polished 1/4" socket-head screws on the top plate.

1/4" screws holding the side-panel on. The original ones were translucent plastic thumbscrews. I re-tapped the holes with new threads to take the steel screws.

MSI MPG Velox 100R Chassis Review
October 14 2021 | 15:04


Want to comment? Please log in.