Front Panel and Cables...
I'll re-cap on the front panel for those new to the project and show the small change made since the last installment. All these mods are covered in detail in previous articles...
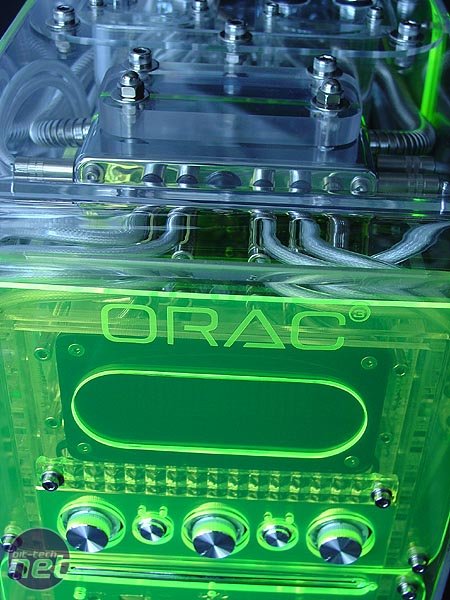
Custom-made VFD housing in chrome with tinted front, custom-made bracket and neon perspex panel.
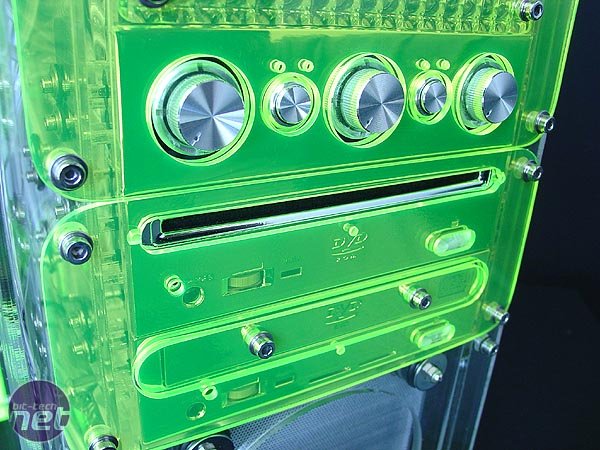
Fanbus mods include chroming, a rear cover made (chromed), re-wiring, LEDs changed, and fibre-optic position indicators on the dials. The DVD-R and DVD-ROM are completely chromed front and rear, re-wired with additional LEDs, have new 'jewel' buttons, re-located activity lights, vinyl-dyed tray, and neon perspex panels on top and bottom with inset LEDs that cause them to 'glow'.
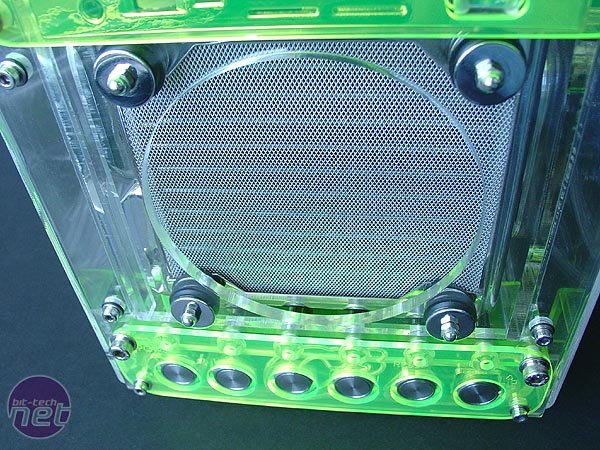
I scrapped the grille I had made previously for the front panel. The mesh cover on the radiator is now unobstructed and the front of the case looks a lot simpler (and nicer IMHO).
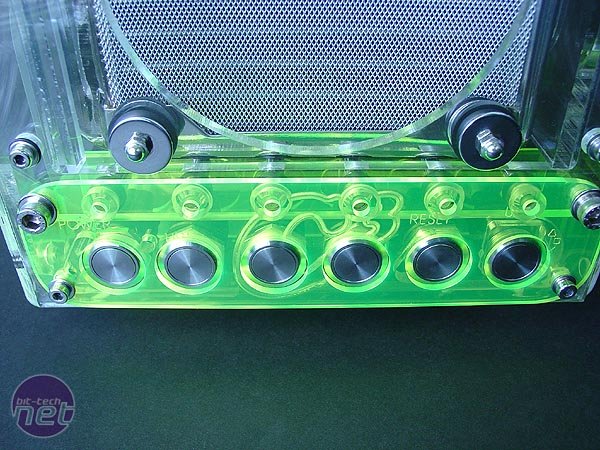
Front switchbay with stainless-steel vandal resistant push-button switches. The origins of the case can be seen in the logo behind the green panel. The origin of the project name Orac³ comes from the inspiration for the project (the computer Orac from Blakes7) and the case being a C³ case.
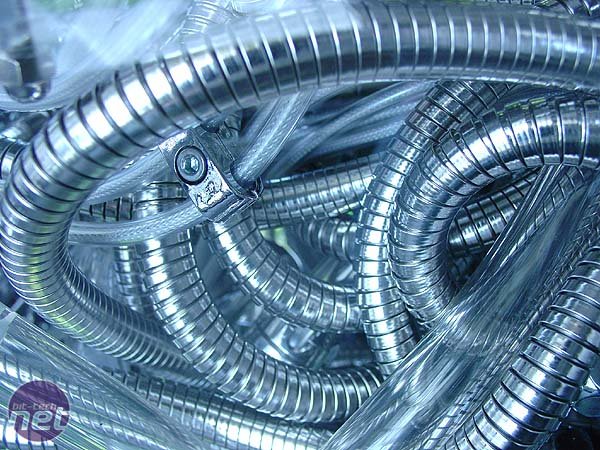
I love shower hoses...
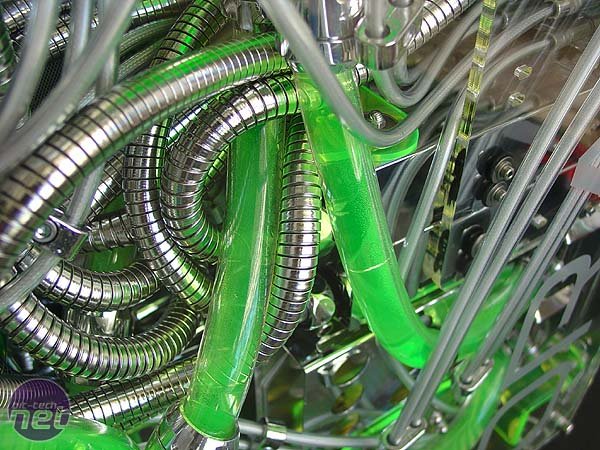
...they reflect the colours in the case!
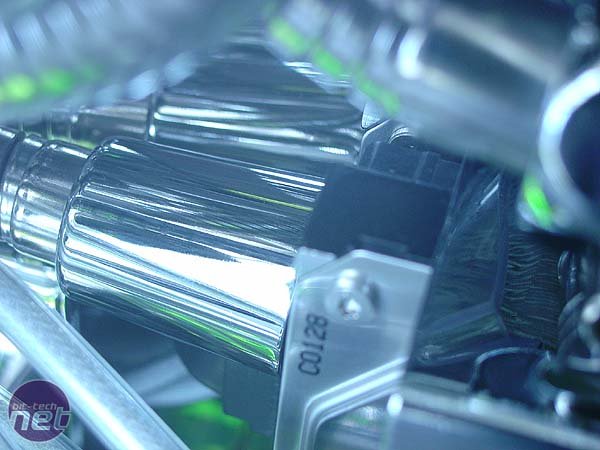
I used all the shower hose fittings too - here are the SATA power cables hidden away. The SATA data cables are plain black and concealed. The plug you see below the fitting is the only part of any of these that is visible, and even then is difficult to spot.
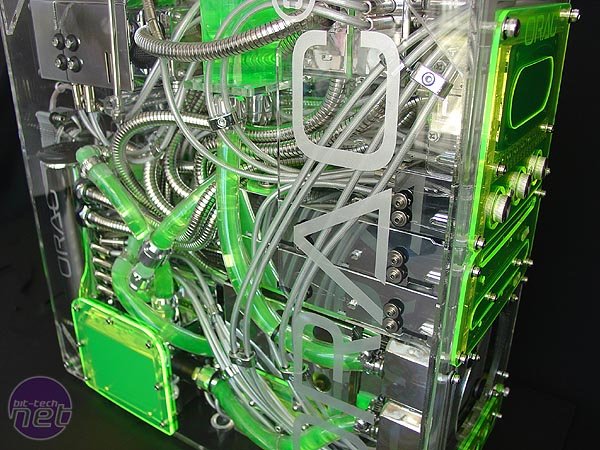
Of course, this all just scratches the surface of what's been done to the insides and the various individual components. For an in-depth look at the bulk of the internal mods, refer to the previous articles in the series:
Part-1 From Power Supply to Junction Box
Part-2 From VFD to Front Bezel Switches
Part-3 From DVD Drives to Radiator
Part-4 From Hard-Drive Rack to Pump Mods
And now, for an in-depth look at what has been done since Part-4...
I'll re-cap on the front panel for those new to the project and show the small change made since the last installment. All these mods are covered in detail in previous articles...

Custom-made VFD housing in chrome with tinted front, custom-made bracket and neon perspex panel.

Fanbus mods include chroming, a rear cover made (chromed), re-wiring, LEDs changed, and fibre-optic position indicators on the dials. The DVD-R and DVD-ROM are completely chromed front and rear, re-wired with additional LEDs, have new 'jewel' buttons, re-located activity lights, vinyl-dyed tray, and neon perspex panels on top and bottom with inset LEDs that cause them to 'glow'.

I scrapped the grille I had made previously for the front panel. The mesh cover on the radiator is now unobstructed and the front of the case looks a lot simpler (and nicer IMHO).

Front switchbay with stainless-steel vandal resistant push-button switches. The origins of the case can be seen in the logo behind the green panel. The origin of the project name Orac³ comes from the inspiration for the project (the computer Orac from Blakes7) and the case being a C³ case.

I love shower hoses...

...they reflect the colours in the case!

I used all the shower hose fittings too - here are the SATA power cables hidden away. The SATA data cables are plain black and concealed. The plug you see below the fitting is the only part of any of these that is visible, and even then is difficult to spot.

Of course, this all just scratches the surface of what's been done to the insides and the various individual components. For an in-depth look at the bulk of the internal mods, refer to the previous articles in the series:
Part-1 From Power Supply to Junction Box
Part-2 From VFD to Front Bezel Switches
Part-3 From DVD Drives to Radiator
Part-4 From Hard-Drive Rack to Pump Mods
And now, for an in-depth look at what has been done since Part-4...

MSI MPG Velox 100R Chassis Review
October 14 2021 | 15:04


Want to comment? Please log in.