
Front Cover Test Fitting...
Once it was made it was with great trepidation that I held my breath and ... nah, just kidding! I'd been test fitting and filing bits off all along. I did a final check though.

Cover in place. Ready for...
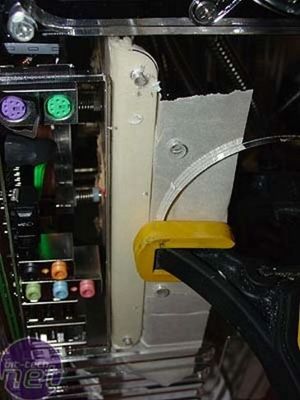
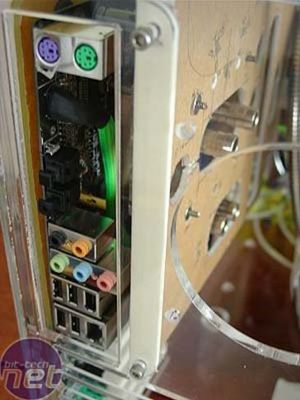
...clamping and drilling to take the M4 screws that will eventually hold it in place. Two on the rear of the case...

...and two on the right-hand side. In this shot you can see the original perspex model I made of the panel hiding the back of the motherboard. Once I'd drilled the cover mounting holes, it was time for...
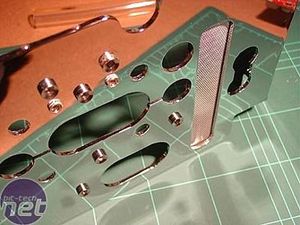
Chrommmmeeeee!
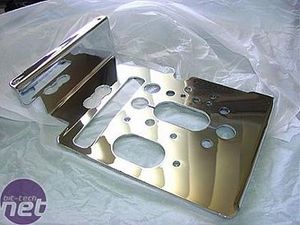
Back from the chroming place. It was very, very shiny. It also weighed about three times what it did previously. I suppose being encased in metal does that.
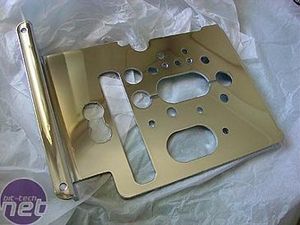
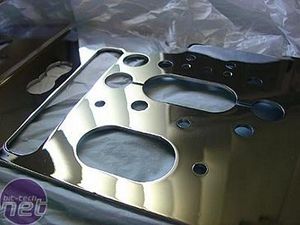
More gratuitous chrome pictures *sigh*. First thing I needed to do was cover up the long hole over the RAM.
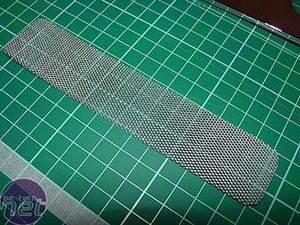
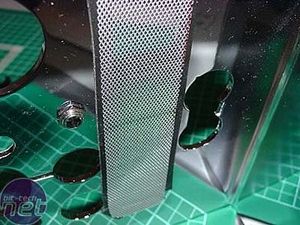
I cut a piece out of the same architects model mesh I had used on the radiator. Several thinly sliced strips of black double-sided spongy tape later...
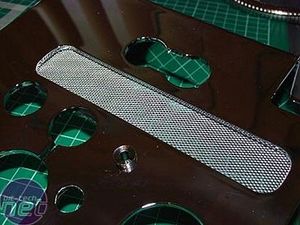
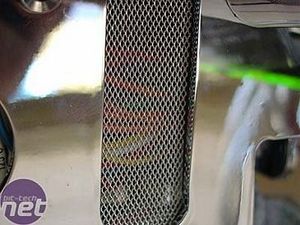
...and the hole was covered. The air still moves but the eye can't see through it.
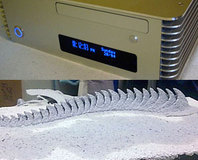
I tidied up the remaining holes with chrome LED holders and jack sockets. These were to be for something I later decided against and now serve to add a bit of interesting (and 'ooh, what're those for?') detail to the cover. Before I could install the motherboard cover, I had to install the motherboard. Before I could install that, I had to make the back cover...
Once it was made it was with great trepidation that I held my breath and ... nah, just kidding! I'd been test fitting and filing bits off all along. I did a final check though.
Cover in place. Ready for...
...clamping and drilling to take the M4 screws that will eventually hold it in place. Two on the rear of the case...
...and two on the right-hand side. In this shot you can see the original perspex model I made of the panel hiding the back of the motherboard. Once I'd drilled the cover mounting holes, it was time for...
Chrommmmeeeee!
Back from the chroming place. It was very, very shiny. It also weighed about three times what it did previously. I suppose being encased in metal does that.
More gratuitous chrome pictures *sigh*. First thing I needed to do was cover up the long hole over the RAM.
I cut a piece out of the same architects model mesh I had used on the radiator. Several thinly sliced strips of black double-sided spongy tape later...
...and the hole was covered. The air still moves but the eye can't see through it.
I tidied up the remaining holes with chrome LED holders and jack sockets. These were to be for something I later decided against and now serve to add a bit of interesting (and 'ooh, what're those for?') detail to the cover. Before I could install the motherboard cover, I had to install the motherboard. Before I could install that, I had to make the back cover...
RELATED ARTICLES


MSI MPG Velox 100R Chassis Review
October 14 2021 | 15:04

Want to comment? Please log in.