Making the Back Cover
The back cover is designed for one purpose only: to completely conceal the rear of the motherboard. It needed to look good and fit with the theme of the case. That, of course, meant chrome! After modelling and trying a cover made from perspex (that turned out to be too thick and too expensive to get chromed), I settled on aluminium. It's easier to work with than steel, and I really enjoyed my first experience working with it.
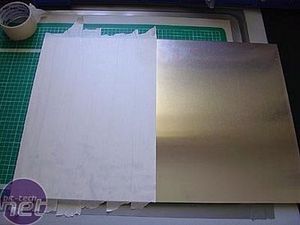
I bought a basic sheet for about A$10 and set about masking it. The tape not only made marking it a breeze but would protect against scratches should a drill or saw slip.
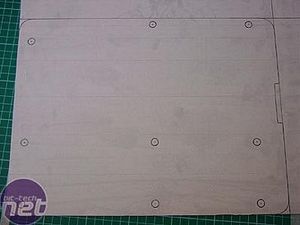
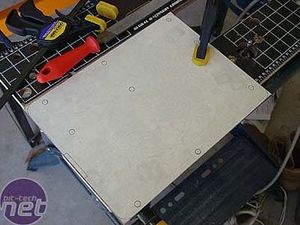
I used the perspex model I had made as the basis for the measurements, knowing that it already fitted. After careful marking I used a hacksaw to cut the straight edges. By this time I had gotten enough practice hacksawing straight lines in panels, so it was easy to cut a line straight enough to only need a quick file and sanding.
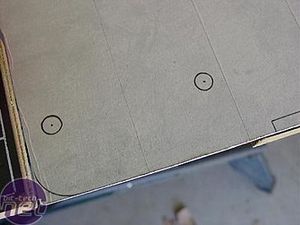
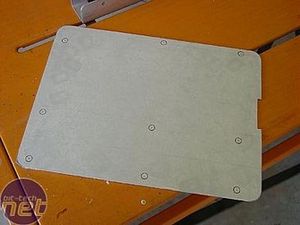
You can see how straight the cuts are. The corners were then rounded off with a file...
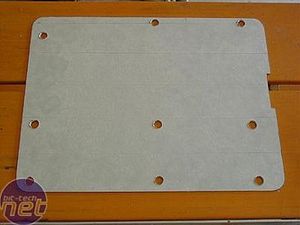
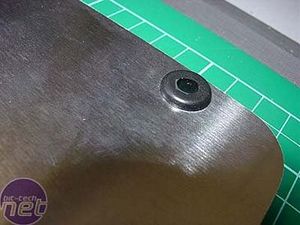
...and holes were drilled. These were then fitted with rubber grommets. The slot at the bottom of the cover is to allow it to fit over an acrylic block in the bottom of the case; a block designed to retain the acrylic motherboard tray.
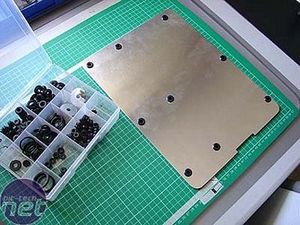
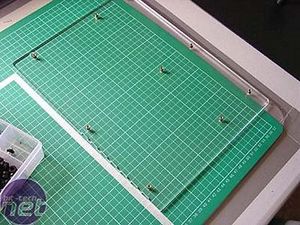
All the holes lined up with all the motherboard standoffs on the existing acrylic motherboard tray.
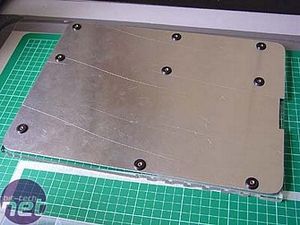
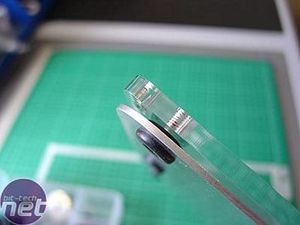
The piece sat nicely over the standoffs. In the close-up you can see how the rubber grommets create a space between the tray and the cover. They also create a space between the rear of the motherboard and the cover.
Installing the Back Cover
The cover went away for chroming and came back polished like a shiny metal mirror! Being metal, and close to lots of current-conducting metal pins on the back of the motherboard, I attached a thin foam and plastic mousepad with double-sided tape to provide some insulation. I had to cut a small hole in the pad to accommodate one of the grommets.
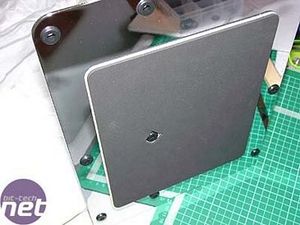
The acrylic/chrome combination of motherboard tray and cover was screwed into the case. I was then ready to prepare a few more things in order to install the motherboard itself and the front cover...
The back cover is designed for one purpose only: to completely conceal the rear of the motherboard. It needed to look good and fit with the theme of the case. That, of course, meant chrome! After modelling and trying a cover made from perspex (that turned out to be too thick and too expensive to get chromed), I settled on aluminium. It's easier to work with than steel, and I really enjoyed my first experience working with it.

I bought a basic sheet for about A$10 and set about masking it. The tape not only made marking it a breeze but would protect against scratches should a drill or saw slip.


I used the perspex model I had made as the basis for the measurements, knowing that it already fitted. After careful marking I used a hacksaw to cut the straight edges. By this time I had gotten enough practice hacksawing straight lines in panels, so it was easy to cut a line straight enough to only need a quick file and sanding.


You can see how straight the cuts are. The corners were then rounded off with a file...


...and holes were drilled. These were then fitted with rubber grommets. The slot at the bottom of the cover is to allow it to fit over an acrylic block in the bottom of the case; a block designed to retain the acrylic motherboard tray.


All the holes lined up with all the motherboard standoffs on the existing acrylic motherboard tray.


The piece sat nicely over the standoffs. In the close-up you can see how the rubber grommets create a space between the tray and the cover. They also create a space between the rear of the motherboard and the cover.
Installing the Back Cover
The cover went away for chroming and came back polished like a shiny metal mirror! Being metal, and close to lots of current-conducting metal pins on the back of the motherboard, I attached a thin foam and plastic mousepad with double-sided tape to provide some insulation. I had to cut a small hole in the pad to accommodate one of the grommets.

The acrylic/chrome combination of motherboard tray and cover was screwed into the case. I was then ready to prepare a few more things in order to install the motherboard itself and the front cover...

MSI MPG Velox 100R Chassis Review
October 14 2021 | 15:04


Want to comment? Please log in.