Installing the Front Cover - Preparation
Before locking the motherboard away in its chrome camouflage, I needed to sort a few things...
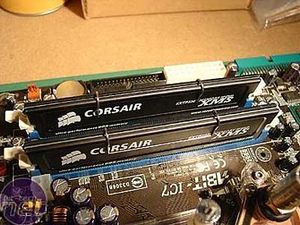
...like installing the RAM...
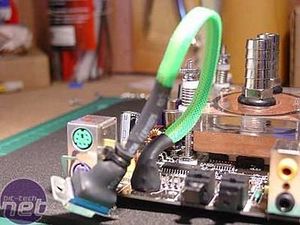
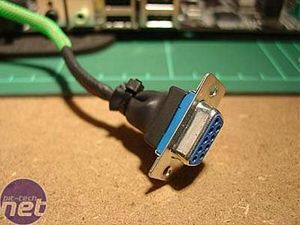
...and wiring up a plug to the serial cable. I must've been having a bad day, because I used a female plug instead of a male! Duh! I later re-wired it (after some colourful head-scratching the first time I tried to plug it into the cable from the VFD!).
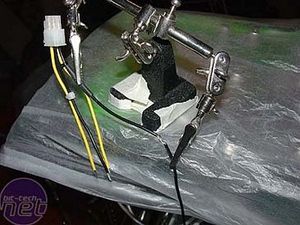
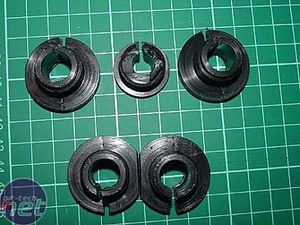
I soldered the 12v P4 plug onto the loose wires left after originally re-sleeving all the PSU wires in shower hoses. I also prepared some threaded fittings. These were originally barbed hose fittings from a boating supplies store. I cut off the barbed ends leaving only the threads and a surround. Next, I cut slots in the sides to allow them to be slipped over the wires of the various cables as none of the plugs would be small enough to fit through the centres. In the bottom two fittings, I filed a flat edge on one side to allow them to butt together - these are for the ATX cables and sat too far apart otherwise.
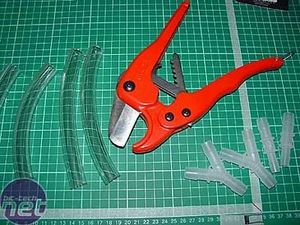
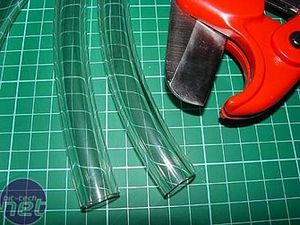
I prepared some Tygon tubing for the CPU and Chipset waterblocks, and a long piece of tubing for a barb on one of the reservoirs - this piece of tubing will actually run vertically down and behind the motherboard cover. I used a special pipe cutter (designed for PVC pipe) which uses a ratchet system and a wide lower jaw to give perfect, smooth 90 degree cuts in the ends of the tube. I also readied my 'Y' fittings and adaptors (for the 3/8"ID to 1/2"ID tubes).
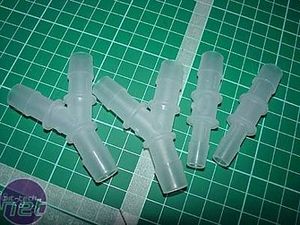
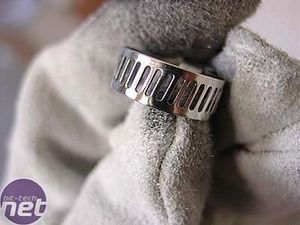
I was going to vinyl dye them, then realised that being translucent, they would show only the colour of the coolant anyway and blend in better with the clear tubing. So I left them as is. All the hose clamps were given a polish...
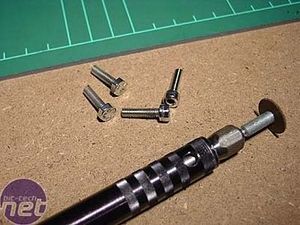
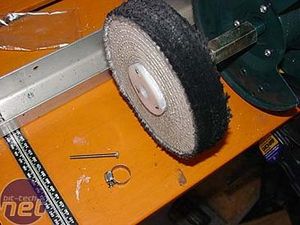
...as were the mounting screws for the front motherboard cover (after being cut to size with a Dremel).
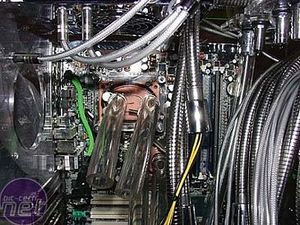
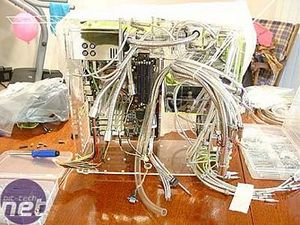
The motherboard finally mounted. I did some other mods to it that I haven't covered here, including blackening around the edge of the PCB with a permanent marker and painting the turquoise-coloured IDE headers black. By this point I was awash in cables and parts scattered over two rooms of the house! The long piece of tubing, mentioned above, can be seen in the centre of the case. The motherboard was in and now the cover needed to go on...
Installing the Front Cover - Lights, Camera, Action!
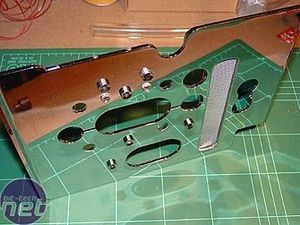
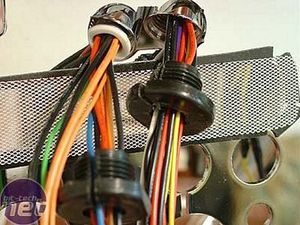
Taking the cover...I began threading wires through the holes and sliding the wires into the threaded fittings via the slots I'd cut.
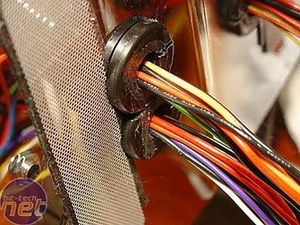
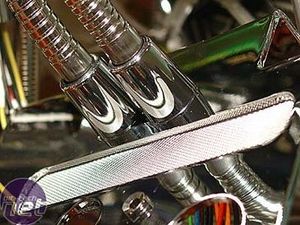
Once the wires were in place, the fitting protruded through from the back of the cover...and the chrome hoses screwed onto them on the front.
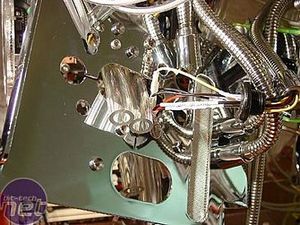
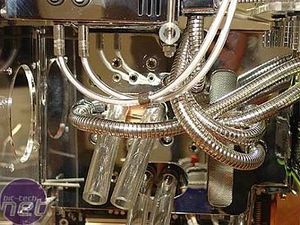
Then it was a case of slowly, slowly catchee monkey - working the cover over the watercooling hoses, around the backs of the DVD drives and into postion.
Phew!
Before locking the motherboard away in its chrome camouflage, I needed to sort a few things...

...like installing the RAM...


...and wiring up a plug to the serial cable. I must've been having a bad day, because I used a female plug instead of a male! Duh! I later re-wired it (after some colourful head-scratching the first time I tried to plug it into the cable from the VFD!).


I soldered the 12v P4 plug onto the loose wires left after originally re-sleeving all the PSU wires in shower hoses. I also prepared some threaded fittings. These were originally barbed hose fittings from a boating supplies store. I cut off the barbed ends leaving only the threads and a surround. Next, I cut slots in the sides to allow them to be slipped over the wires of the various cables as none of the plugs would be small enough to fit through the centres. In the bottom two fittings, I filed a flat edge on one side to allow them to butt together - these are for the ATX cables and sat too far apart otherwise.


I prepared some Tygon tubing for the CPU and Chipset waterblocks, and a long piece of tubing for a barb on one of the reservoirs - this piece of tubing will actually run vertically down and behind the motherboard cover. I used a special pipe cutter (designed for PVC pipe) which uses a ratchet system and a wide lower jaw to give perfect, smooth 90 degree cuts in the ends of the tube. I also readied my 'Y' fittings and adaptors (for the 3/8"ID to 1/2"ID tubes).


I was going to vinyl dye them, then realised that being translucent, they would show only the colour of the coolant anyway and blend in better with the clear tubing. So I left them as is. All the hose clamps were given a polish...


...as were the mounting screws for the front motherboard cover (after being cut to size with a Dremel).


The motherboard finally mounted. I did some other mods to it that I haven't covered here, including blackening around the edge of the PCB with a permanent marker and painting the turquoise-coloured IDE headers black. By this point I was awash in cables and parts scattered over two rooms of the house! The long piece of tubing, mentioned above, can be seen in the centre of the case. The motherboard was in and now the cover needed to go on...
Installing the Front Cover - Lights, Camera, Action!


Taking the cover...I began threading wires through the holes and sliding the wires into the threaded fittings via the slots I'd cut.


Once the wires were in place, the fitting protruded through from the back of the cover...and the chrome hoses screwed onto them on the front.


Then it was a case of slowly, slowly catchee monkey - working the cover over the watercooling hoses, around the backs of the DVD drives and into postion.
Phew!

MSI MPG Velox 100R Chassis Review
October 14 2021 | 15:04


Want to comment? Please log in.