Scratchbuilt PC - Water Cooling and Hardware Mounting
May 21, 2012 | 07:13

Completing the waterblock and mounting hardware
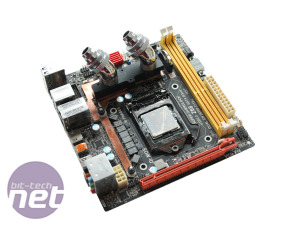
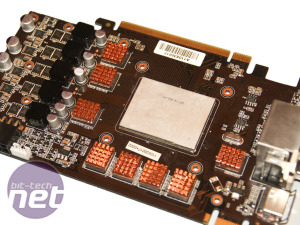
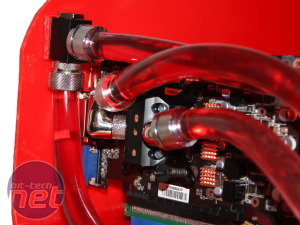
We then bolted our waterblock back onto the motherboard and hey presto, our custom-made motherboard waterblock is ready for some action. We're not quite out of the woods yet though. We still need to make sure it's doing its job properly and removing the heat from the VRMs and chipset block, but seeing as the stock heatsink was passively cooled and used thermal pads too, we doubt our contraption will be any worse.As our graphics card uses a custom PCB, we weren't able to select a full-cover waterblock for it. This is a pain as it means the VRMs and RAM will be dumping their heat into the case instead of the coolant - something we'd hoped to avoid given the tight confines of the case itself. For now, we'll settle for RAM sinks and a GPU-only waterblock, although we are looking at modifying a full cover block.
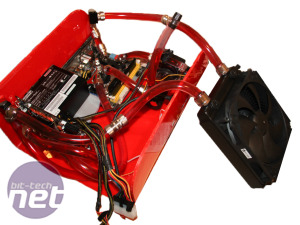
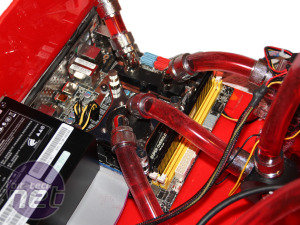
With all our core components ready, we hooked everything up to check for leaks and whether our Laing DDC pump was going to cope with the numerous 90 degree bends in the loop. As this was the first time connecting all the hardware with the correct lengths of tubing, we also had the issue of dealing with 1/2in tubing in a small space. Thankfully, the bends weren't quite tight enough to cause kinks in the tubing, so we held off buying smaller diameter tubing for now.
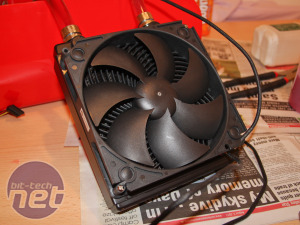
Using a coloured coolant at this testing stage allowed us to check for leaks. Adding kitchen towels to the base of the case and around key joints will catch any drops leaving red dye behind when it dries. We were also able to see how easy it would be to remove the radiator - mounting it to the roof of the case wouldn't be possible as it needs to be removable. We also wanted to be able to swing the radiator out of the way to be able to get the hardware beneath.
It's certainly a tight fit but everything just about fits. The SilverStone 18cm Air Penetrator fan shifts a huge amount of air through the radiator - hopefully enough to keep our overclocked Core i5-2500K, motherboard and graphics card cool.
With the water-cooling gear looking like it might actually work, we began working on ways to secure all the hardware into the case. The motherboard was fine, of course, following our donor case's demise which provided us with a motherboard tray that we secured to the acrylic shell. However we still needed to mount the graphics card, pump, reservoir and radiator, not to mention our SSD and hard disk.
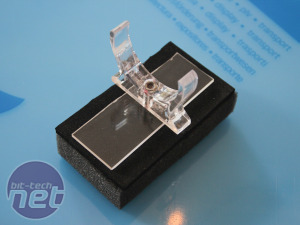
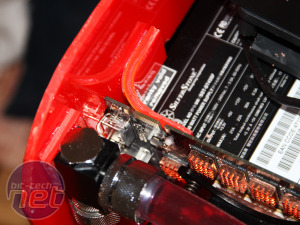
For the reservoir and pump, which are combined, we used the standard EK Multioption clips, mounted them to a piece of acrylic and stuck this to some anti-vibration foam. Screwing your pump directly to the case or into a bay reservoir increases vibration and noise considerably. We also began bending small lengths of acrylic to work as mounts for the other bits of hardware, such as the graphics card above.

MSI MPG Velox 100R Chassis Review
October 14 2021 | 15:04



Want to comment? Please log in.