

"Someone set up us the bomb!"
Following are a couple of pages of images showing where the project is at as of Part-1. As I mentioned before, this is still a work-in-progress with plenty to do. The final result will look different once again to what you see here...
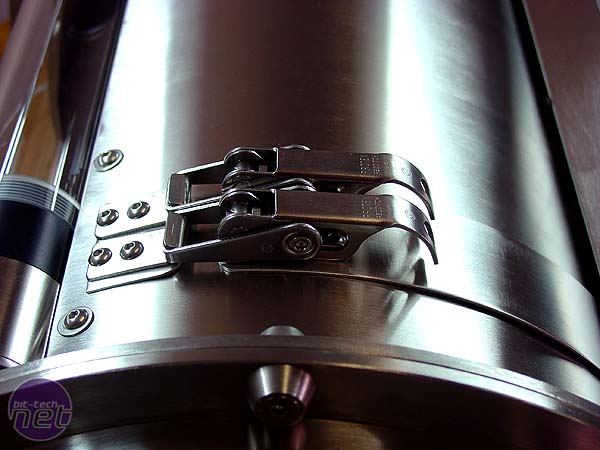
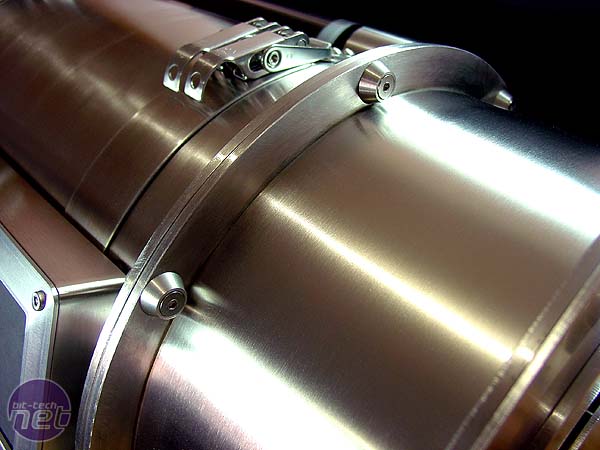
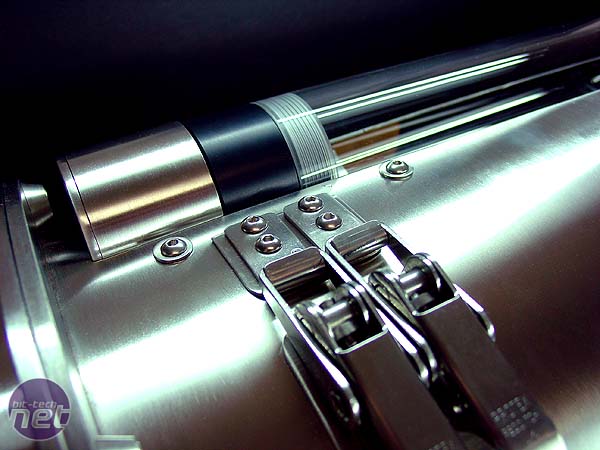
A view along the top of the case showing the PROTEX clips and strapping bands, plus part of the innovatek reservoir recessed into the case.
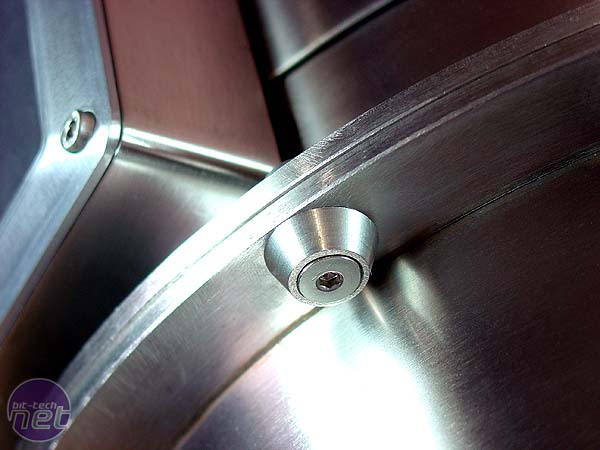
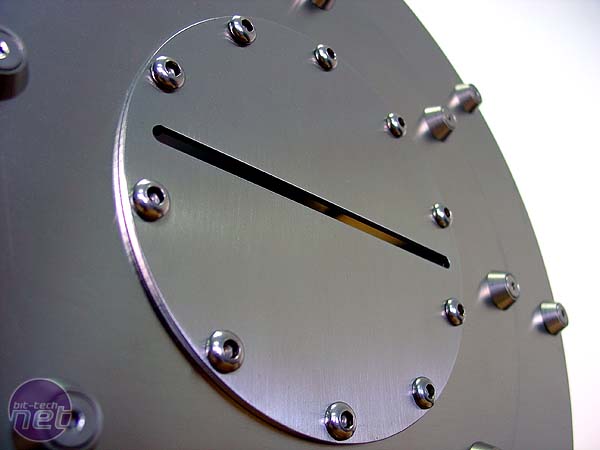
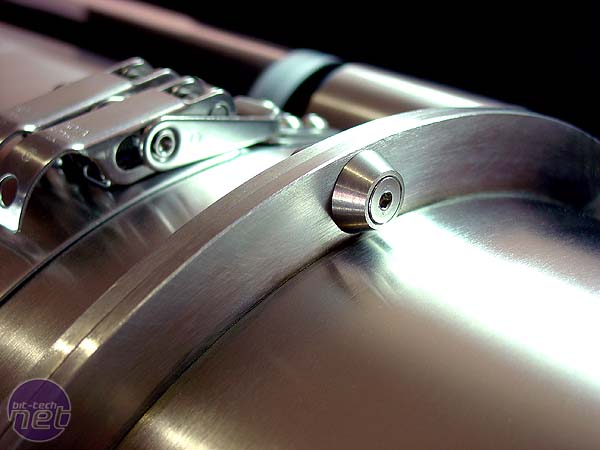
Detail of the fasteners and flanges that join sections of the case, part of the CNC machined bezel on the timer and a pic showing the shielded air intake. The intake won't be concealing a fan, but rather a custom-built radiator from the folks at HWLabs.
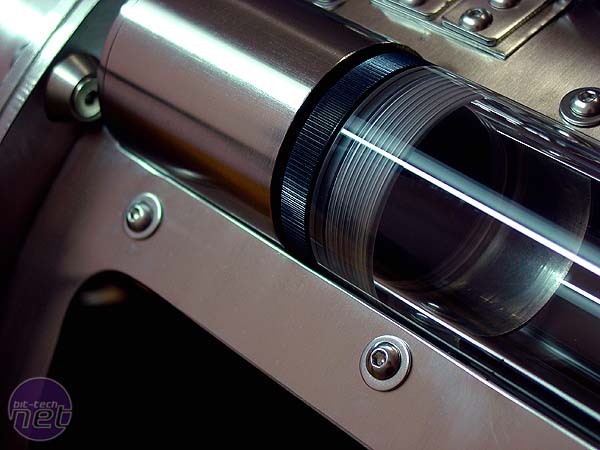

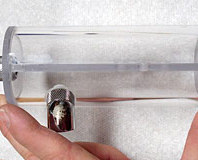
One end of the innovatek reservoir from Coolercases. This will eventually be covered by a mounting bracket so only the central part of the reservior will be visible (amongst other things). Also a pic showing the top of the timer box and the strapping band running behind it.

I put some black cardboard in the timer to make it pretty for the photos. This will later be replaced with plexi when I install the timer. The flanges worked out really well for joining the case sections and allow me flexibility for later, when I will need to take the ends off to work on the insides and install components.
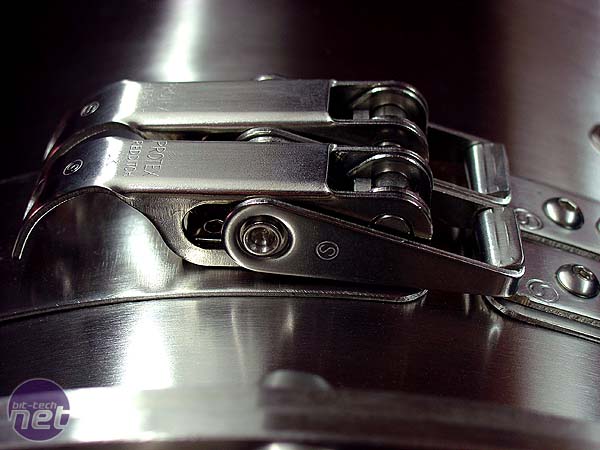
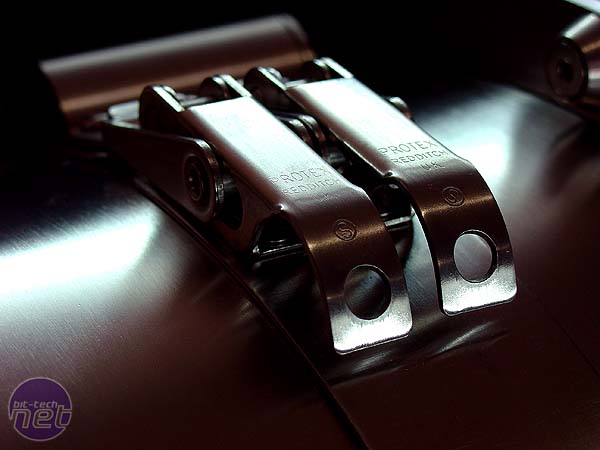
These PROTEX clips add another 'industrial' facet to the design. With the whole project, I want a clean, sleek look but also with a solid, heavy-duty industrial feel. Being stainless steel, the clips fit in perfectly with the stainless steel used throughout the case.
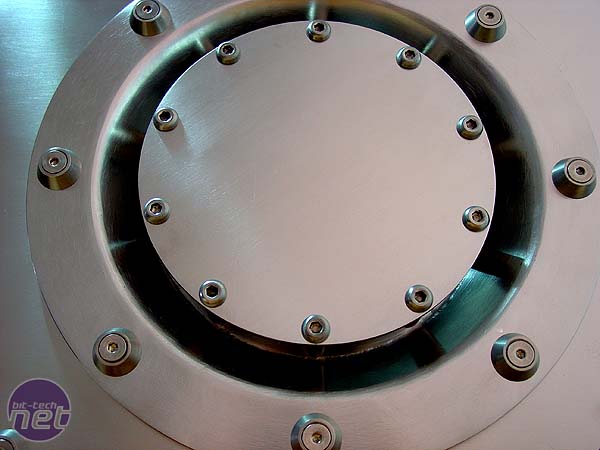
The slot for the DVD drive, laser-cut into a 3mm thick stainless steel plate and fastened with M6 socket screws. I'm using a Panasonic UJ825 slimline slot-loading DVD-RW from KustomPCs for the project. Being a SFF case, I simply don't have space for a full-size drive. The second image is of the base of the reservoir with one of the stainless steel end pieces.
The fasteners are more complex than they look. I used a 5-piece system for each and had to fabricate and adapt a couple of the pieces myself.
RELATED ARTICLES


MSI MPG Velox 100R Chassis Review
October 14 2021 | 15:04

Want to comment? Please log in.