

Making Fasteners
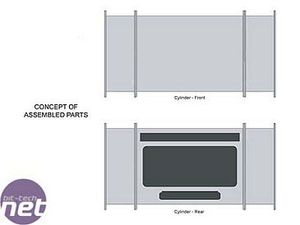
With the sectioned structure of the case, I needed a way of joining it all together that would be secure and, most importantly, look good! I was violently opposed to using ordinary hex bolts and nuts, or even dome/acorn nuts - none of them would quite fit the image I had in my head of what I wanted. I definitely wanted some sort of socket screw, but it looked like I'd have to make a few things...
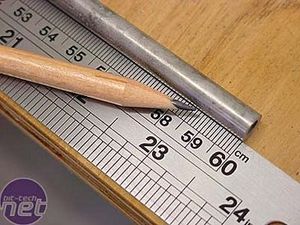
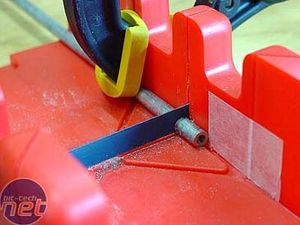
After working out the concept for the fasteners, I sourced some stainless steel thick-walled tube (around 7.94mm O.D., 4.7mm I.D.) and set about marking it off and cutting 15mm lengths, using a mitre-box to keep the ends squared. I measured and marked the box with a piece of masking tape at the right distance. With so many to cut, this meant I only had to run the end of the tube to the edge of the tape each time and hacksaw away. I used a very fine hacksaw blade to give clean cuts and stop the teeth catching on the hard steel.
Once cut, a file cleans off any burrs, leaving me with around 48 short lengths of tube (plus a few spares).
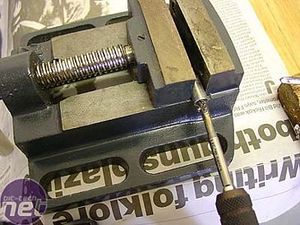
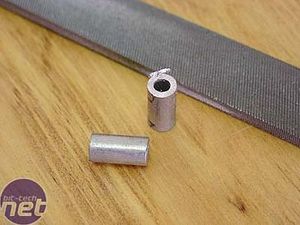
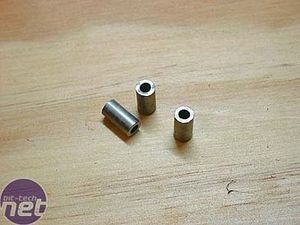
I put the tube in a vise and tapped the inside completely through to M5. Taps break easily enough when used incorrectly, and the stainless was pretty hard, so it was a slow process involving tapping compound, backing off every quarter-turn and brushing the tap clean between each one. Once I got going, it took around 5 minutes to tap each tube, or over 4 hours solid to do all 48+.
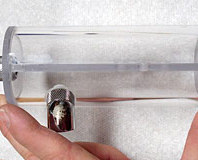
I then moved onto the objects in the second pic - M6 Armor Rings. These are stainless steel 'caps' designed to be hammered onto the ends of M6 Hex-head bolts to make them impossible to remove. I had another use for them...
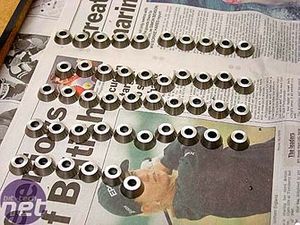
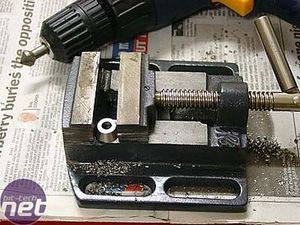
About half of the Armor Rings lined up and ready to go. Where? Into a vise...
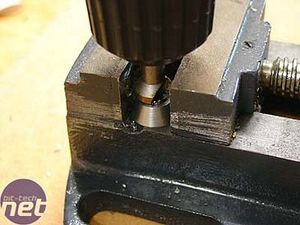
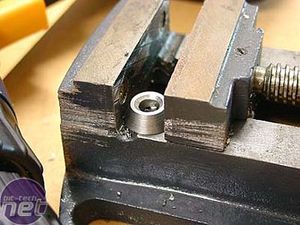
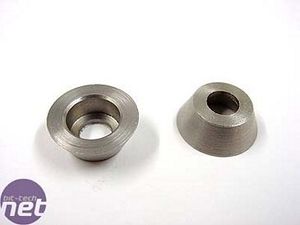
...to be counter-sunk. They all needed to be countersunk as similarly as possible so I worked out the right pressure to use on the drill and counted out 10 seconds for each one and it didn't take too long.
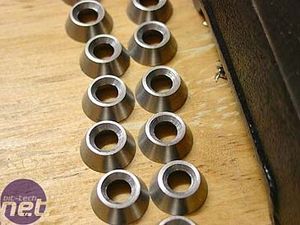

All done. And a comparison with the original.
Now to put the two together...
RELATED ARTICLES


MSI MPG Velox 100R Chassis Review
October 14 2021 | 15:04

Want to comment? Please log in.