
Cooler Master Elite 130 - Internals
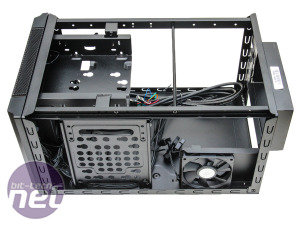
Taking the one-piece cover off the main chassis reveals a space that seems hardly big enough for a mini-ITX office system, never mind a full size PSU and graphics card. However, as you begin to work with it you realise that Cooler Master has probably opted for the best layout possible here, given the Elite 130's specifications. The PSU will still dominate the inside and there's not a great deal of space to hide cables as a result, especially if you intend to occupy the 5.25in bay at the front.Click to enlarge
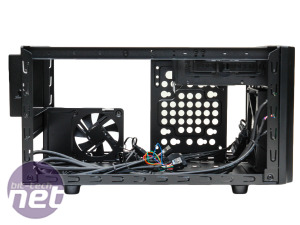
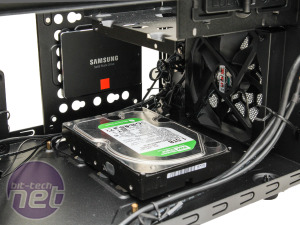
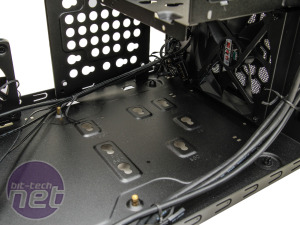
The front 120mm fan serves as the case's only intake, so it's vitally important to keep the area behind it clear of cable clutter. The importance of the fan clearly influenced Cooler Master's design team when they created this successor to the Elite 120 too, as the 3.5in drive cage that essentially blocked this area is now gone. Instead there are mounts in the base, the side and in the 5.25in bay.
Click to enlarge
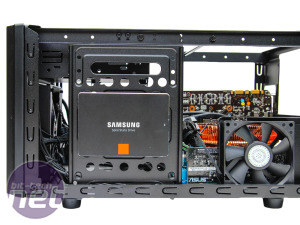
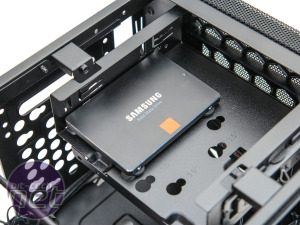
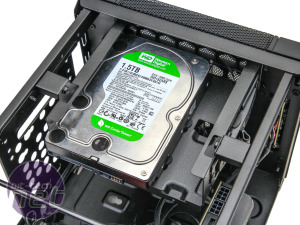
You can install a 3.5in hard disk in any of the three locations, sacrificing a couple of SSD mounts. However, the usual one hard disk and SSD setup most of us go for will still mean the 5.25in bay is free, while if you need more storage and are prepared to sacrifice the latter, you can install a further hard disk or two SSDs there too. To mount storage devices, Cooler Master has employed a system of Lian Li-like rubber push-grommets, that attach to your hard disks and SSDs allowing them to slot into place.
Click to enlarge
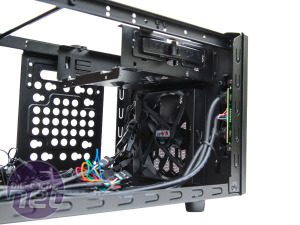
The 80mm side fan makes a return, but unfortunately the VRM daughterboard on our test motherboard partially blocks it. Even so, the case still has two intake fans, and no dedicated exhausts; as we found in our Big Air Cooling Investigation, it's far more important to get hot air out of the case than to pump cool air in. Given the ample vents and mesh in the Elite 130, we're surprised Cooler Master hasn't used either fan as an exhaust or go all-out with a negative air pressure setup.
Click to enlarge
Installing a system into the case is actually relatively easy, thanks in part to the fact you can install the PSU last. This secures to the rear PSU mount that you detach from the case first and then slide the PSU into place, connecting cables as you go. You'd be well-advised to use a modular PSU to reduce the cables you use to an absolute minimum or even consider using an SFX instead of ATX model; there really isn't a lot of space to hide the cables without obstructing the vital 120mm fan at the front. Indeed there's an argument for saying Cooler Master should drop the idea of using an ATX PSU altogether, given an SFX model will provide plenty enough power for any system you could fit in here.
As far as water-cooling goes, incredibly there's enough room for a combined pump and reservoir in the base, along with a 120mm radiator. All-in-one liquid coolers are definitely a possibility, albeit with a bit of a squeeze beneath the PSU. Custom kits with angled fittings on the CPU block will likely be easier here, but considering the size of the case Cooler Master should be commended on the Elite 130's modding and water cooling-friendly credentials.

MSI MPG Velox 100R Chassis Review
October 14 2021 | 15:04



Want to comment? Please log in.