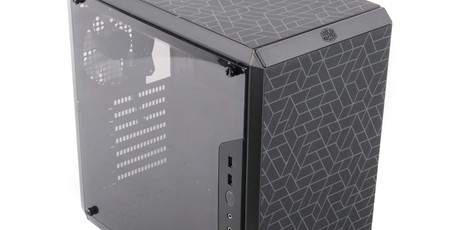
Interior
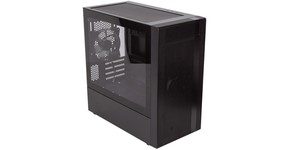
There's a reason ATX cases aren't usually found in this size range, as the first issue we came across was that our ATX test motherboard can't drop into the case flat; it's actually too large to fit through that opening and requires you to tilt it. However, there are plenty of other issues that end up dictating how you install your hardware, and things do get a little cramped.
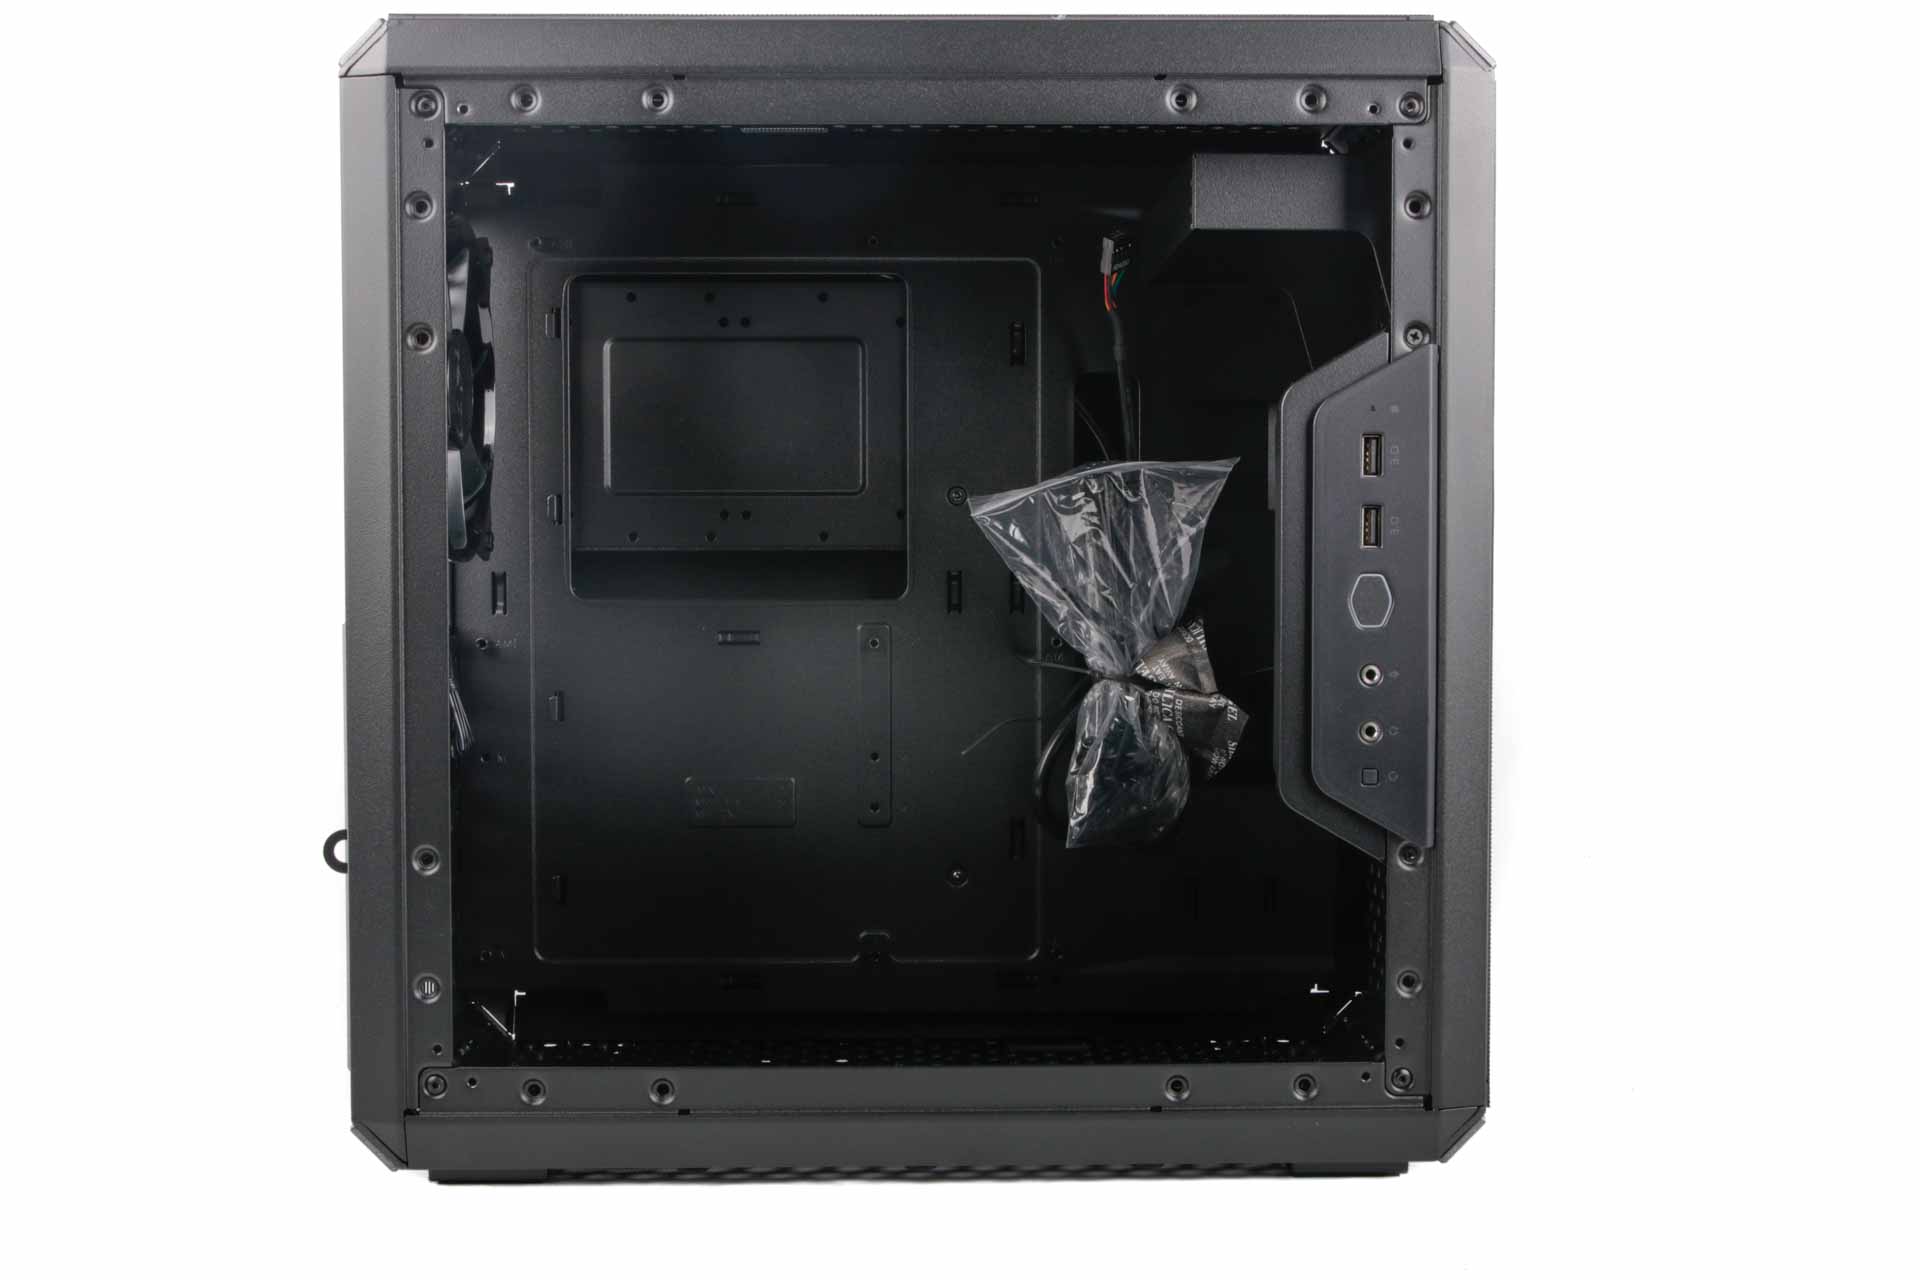
There's just one fan included as standard, but we probably wouldn't expect more at this price even with an ATX case. It's located in the rear of the case to aid your CPU cooler, although the latter will need to be 160mm or shorter to fit inside the MasterBox Q500L, which is the minimum we expect and will restrict the use of certain coolers. The roof of the case can house either two 120mm or 140mm fans with the option of installing a 240mm radiator here too so long as your motherboard components (including memory) in this area aren't taller than 35mm.
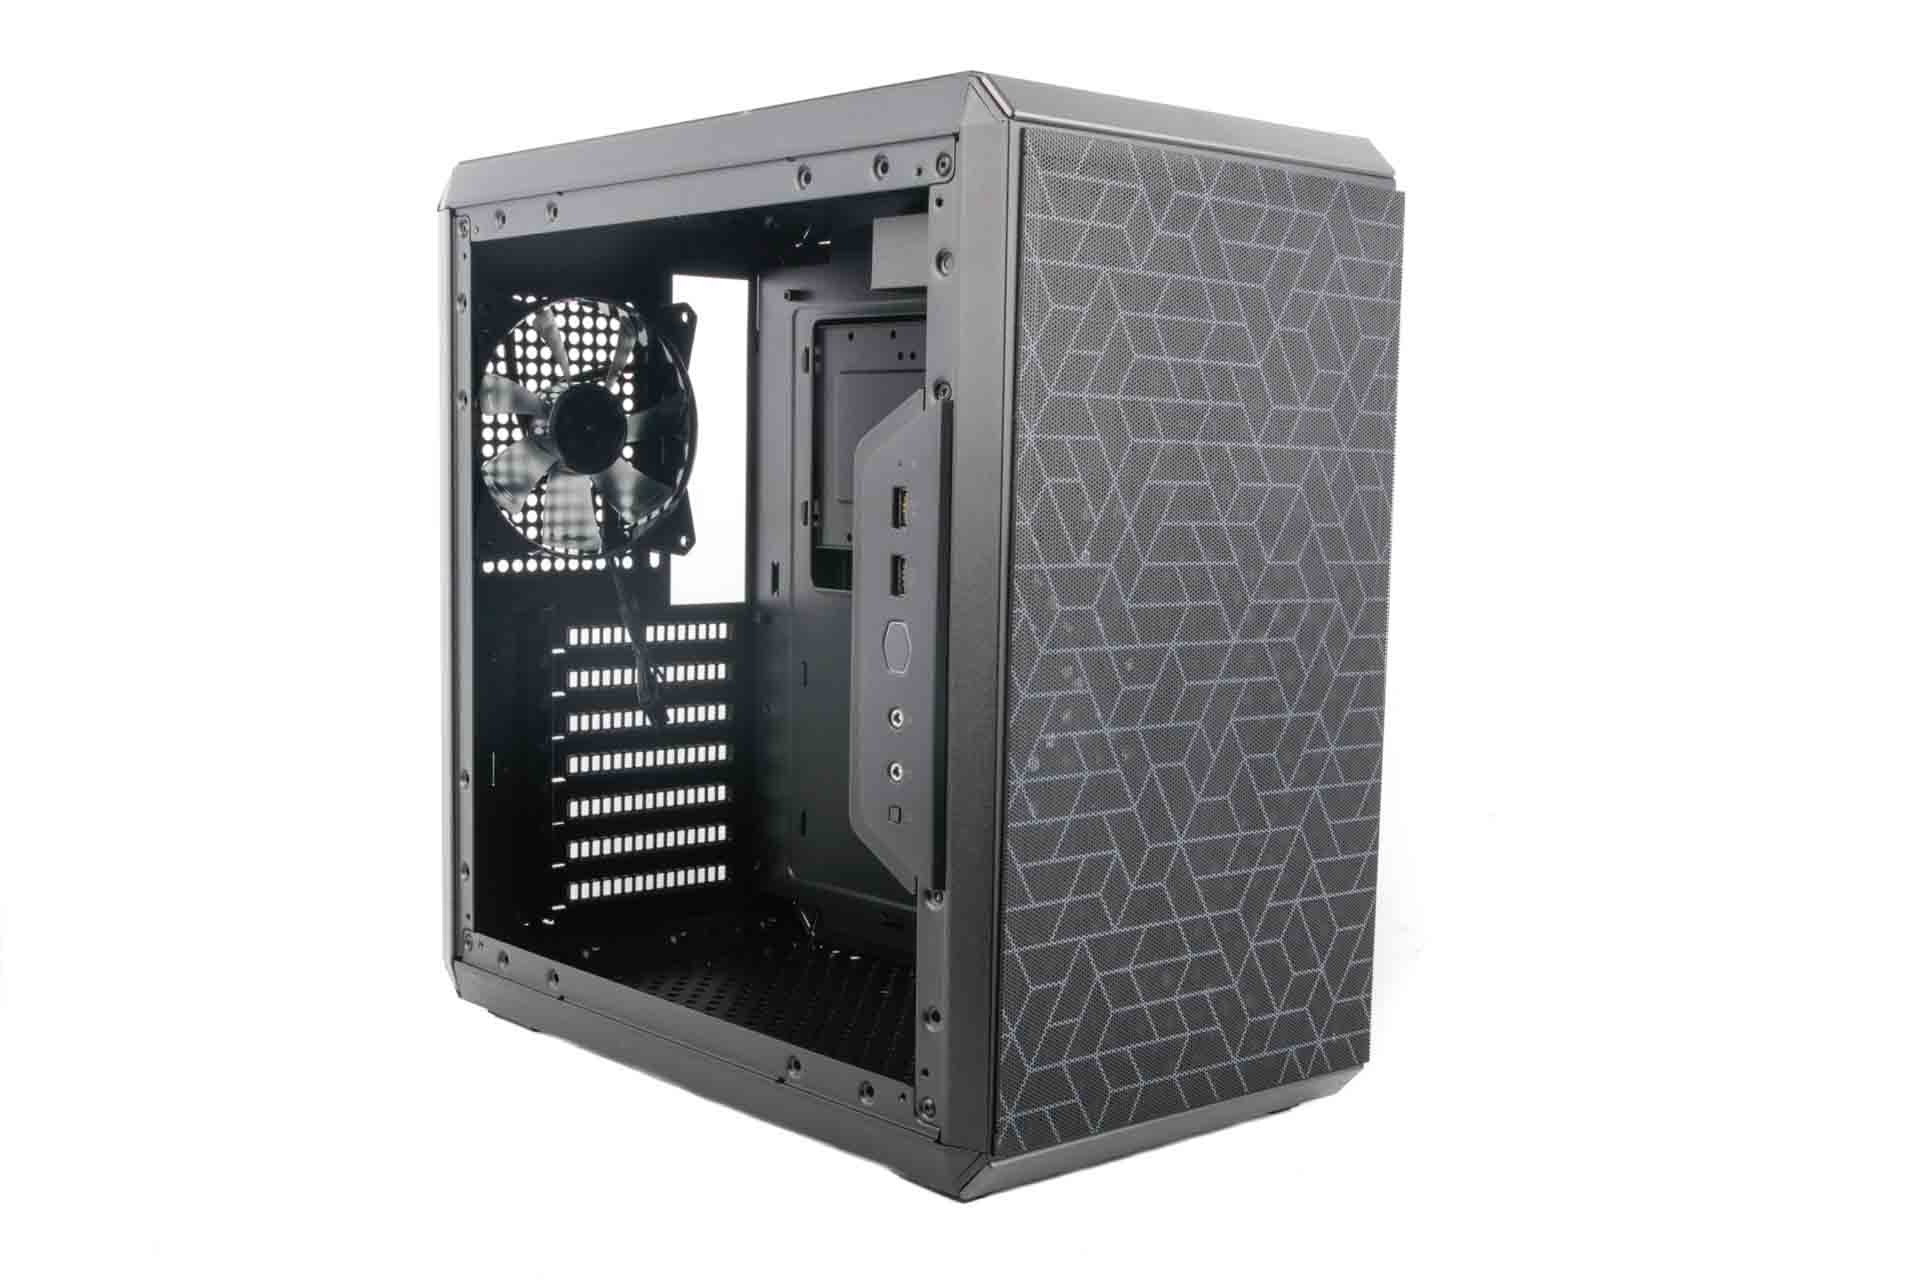
The bottom of the case adds another pair of 120mm fan mounts, and that's important because in its stock configuration the front of the case can't house any fans at all. That's where the PSU sits, with a power extension cable running from the back of the case to your PSU.
Cable routeing is reasonable with a generous amount of cable ties included and plenty of anchor points plus a sizeable gap between the motherboard tray and side panel.
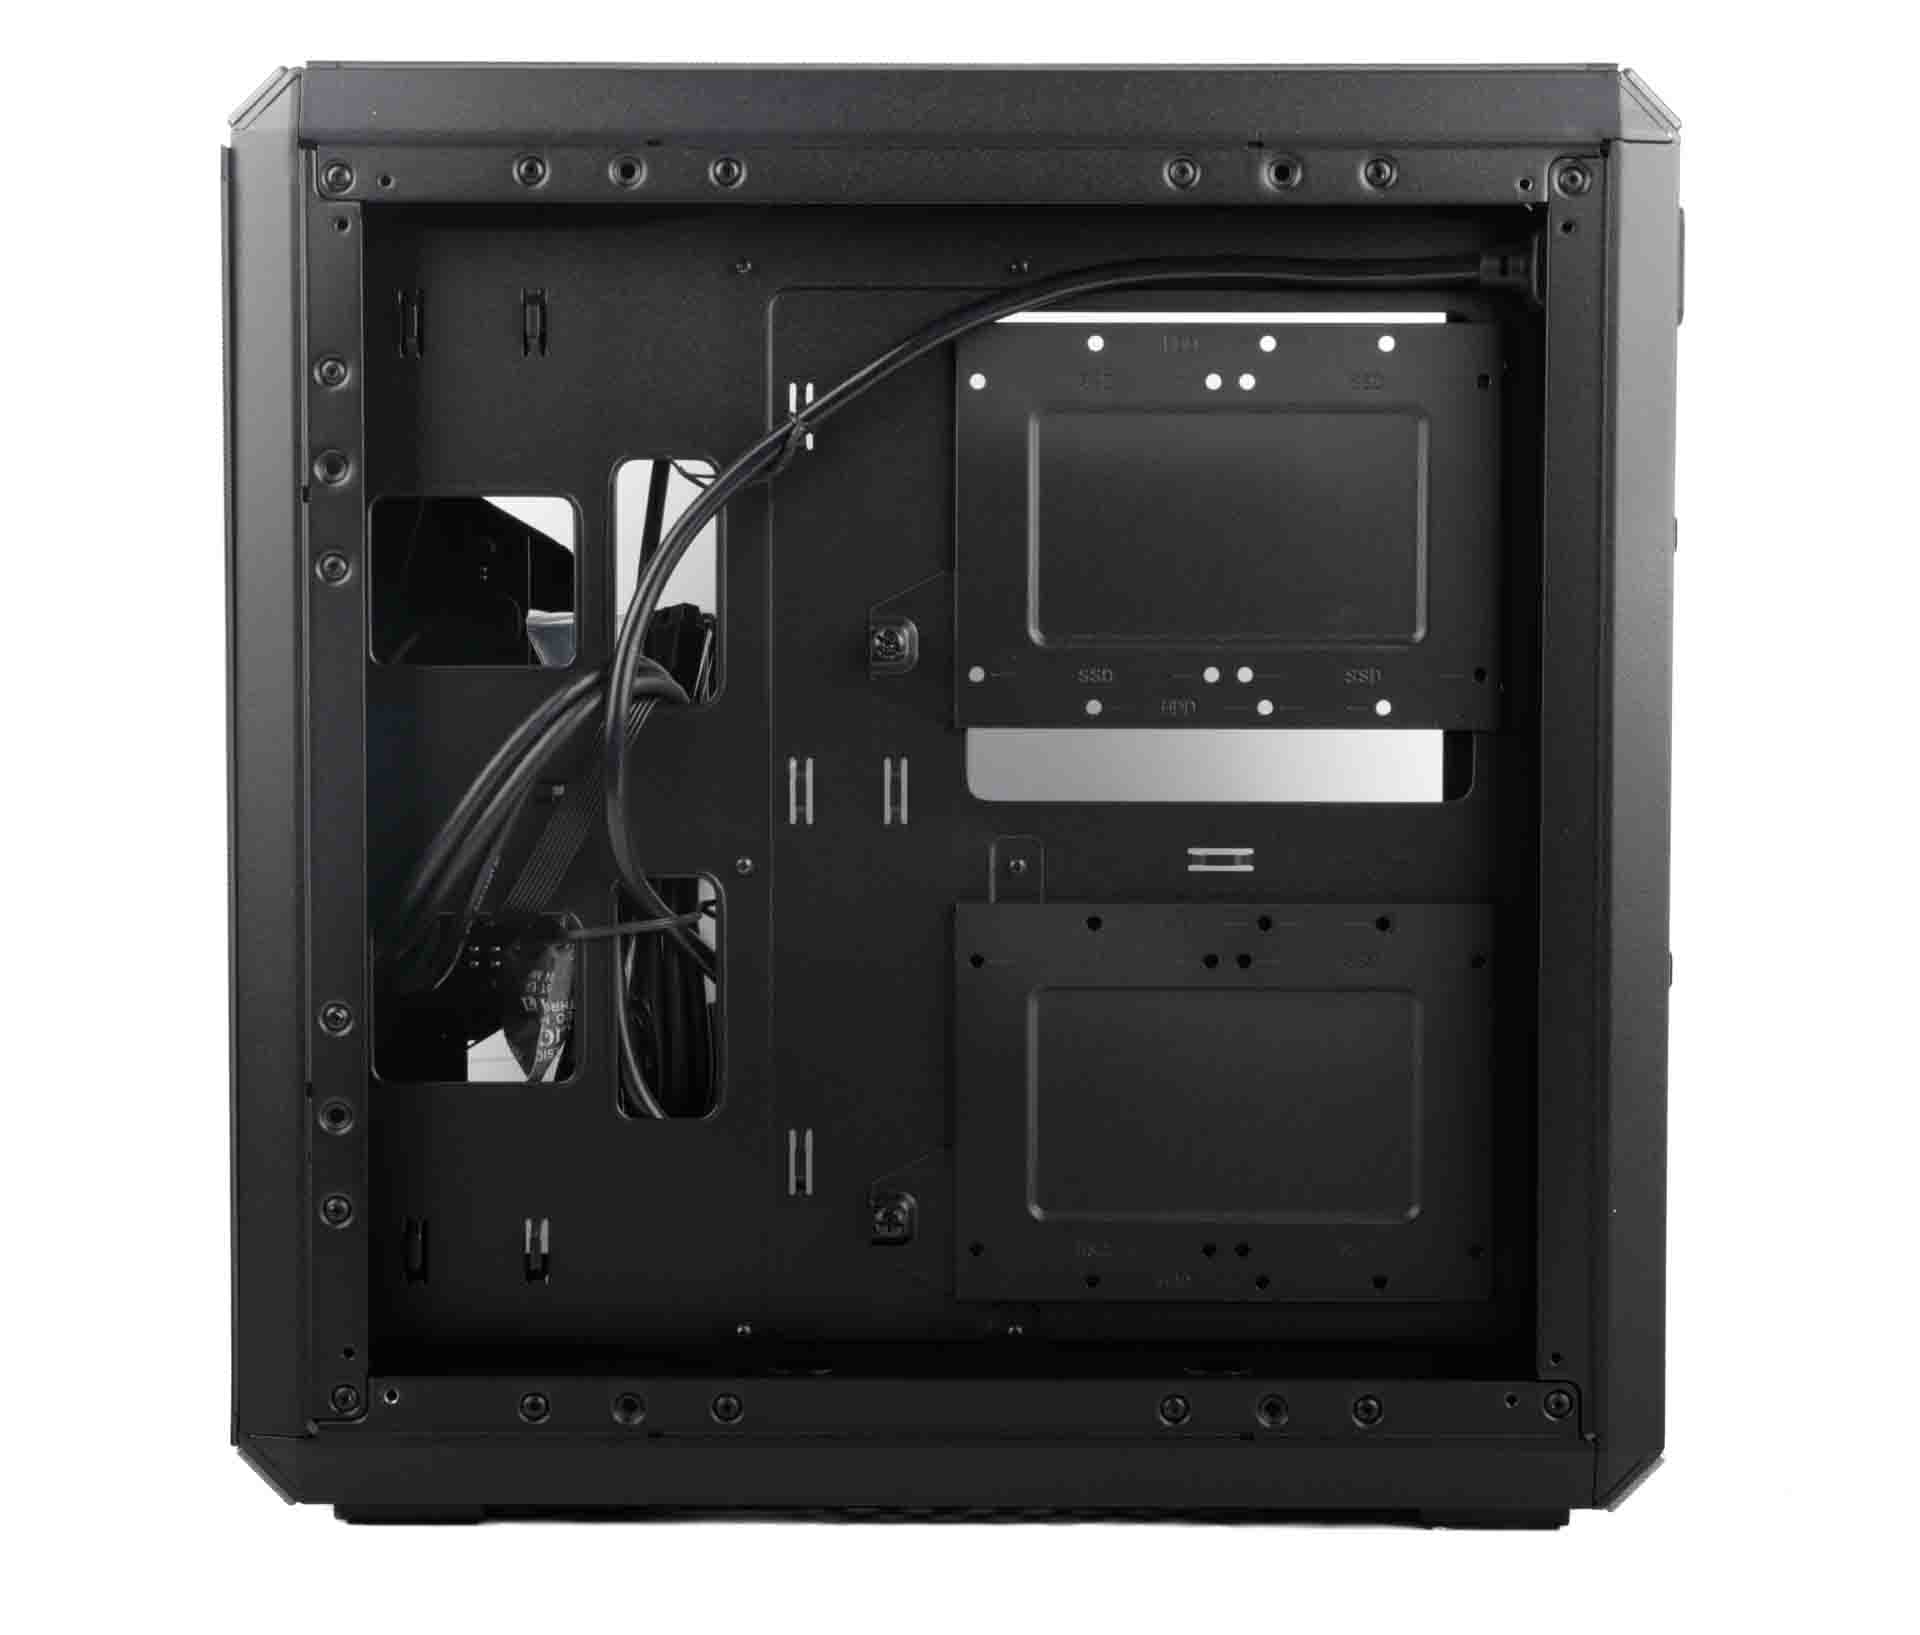
Despite the entire main chamber being occupied with your core hardware and PSU, there is still space for two drive mounts behind the motherboard tray. Each of these can house either a pair of 2.5" drives or a single 3.5" hard disk, so if you use an M.2 SSD for your OS, you can still house a pair of 3.5" bulk storage drives in the MasterBox Q500L. These don't come with any frills, though, such as being tool-free or equipped with anti-vibration mounts.
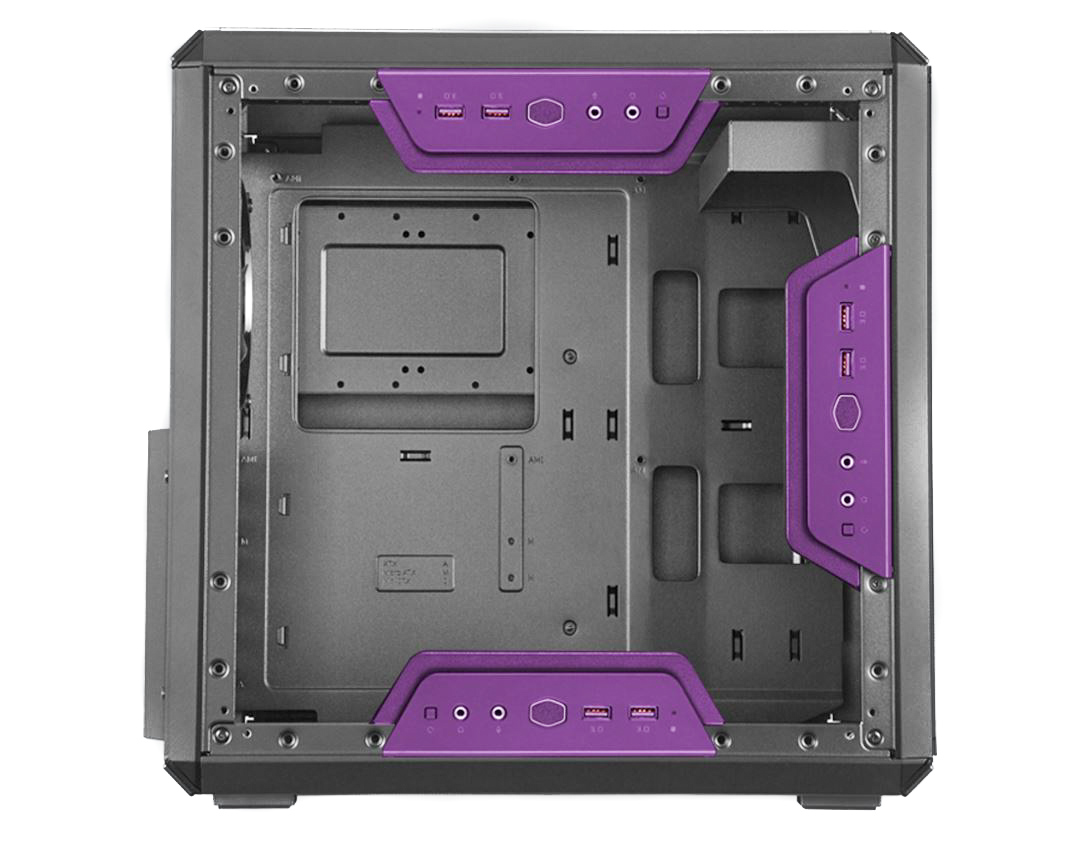
Above are the three positions the front panel can be mounted. The reason Cooler Master gives for this is to maintain access when repositioning the case. It's an interesting feature to have, but we can only really see one possible reason to move the panel, which is if you have the case on the floor. Its tiny stature will mean having the power button and ports as high as possible is an important feature, but we can't quite see why you'd need to move it when switching between vertical and horizontal orientations.
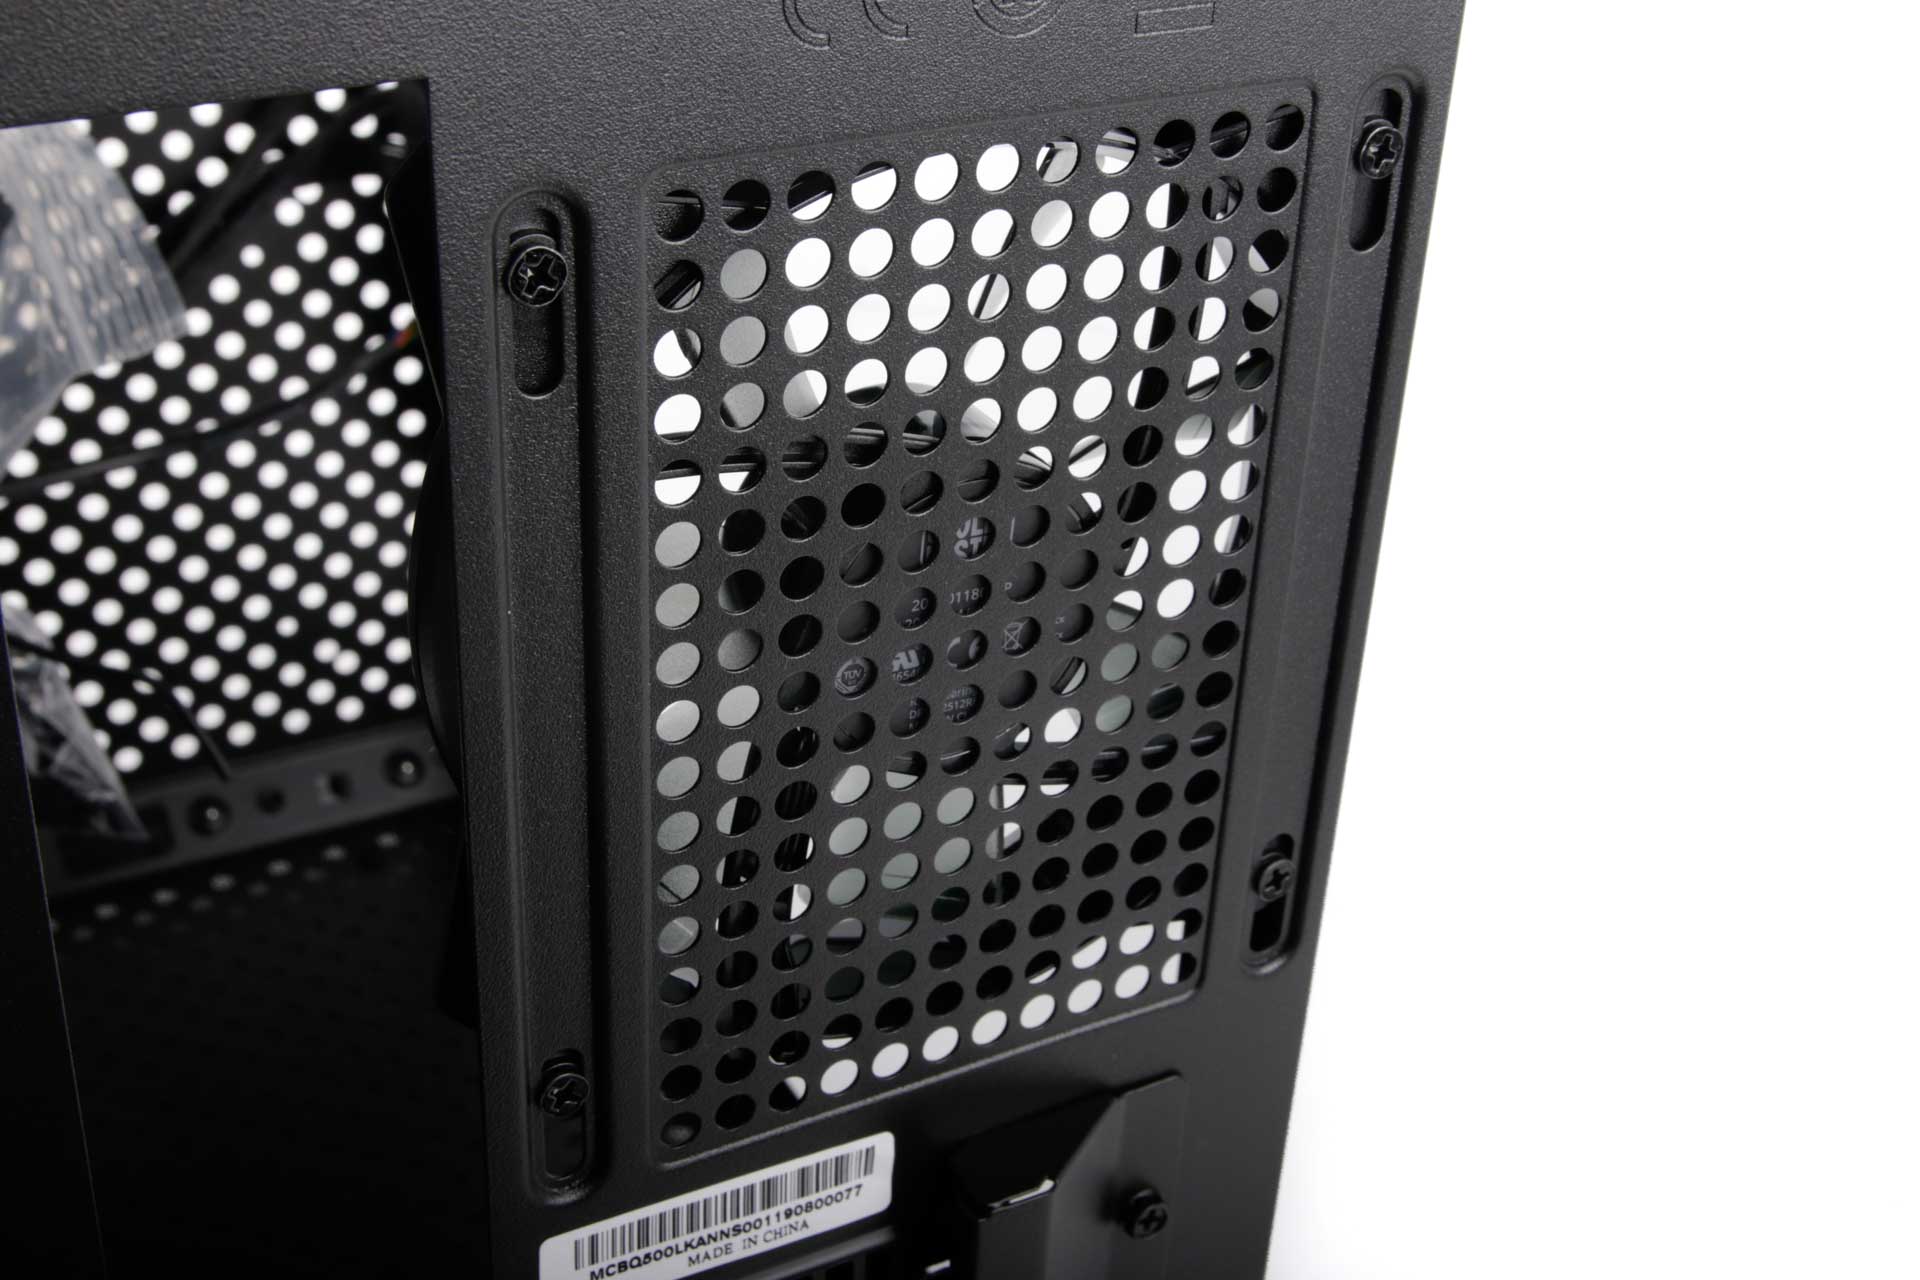
The rear fan mount does at least come with adjustable mounting holes, allowing you to position the fan here so it's in line with your CPU cooler, which is a nice touch.
Below you can see the mount for the PSU and probably our main bone of contention with the MasterBox Q500L. You need to remove the mount to install your PSU, which is clearly something you don't need to do in other cases. Reinstalling it with the PSU in place was fiddly to say the least, plus you're no longer able to access your PSU's power switch that easily, requiring you to remove the side panel and reach inside.
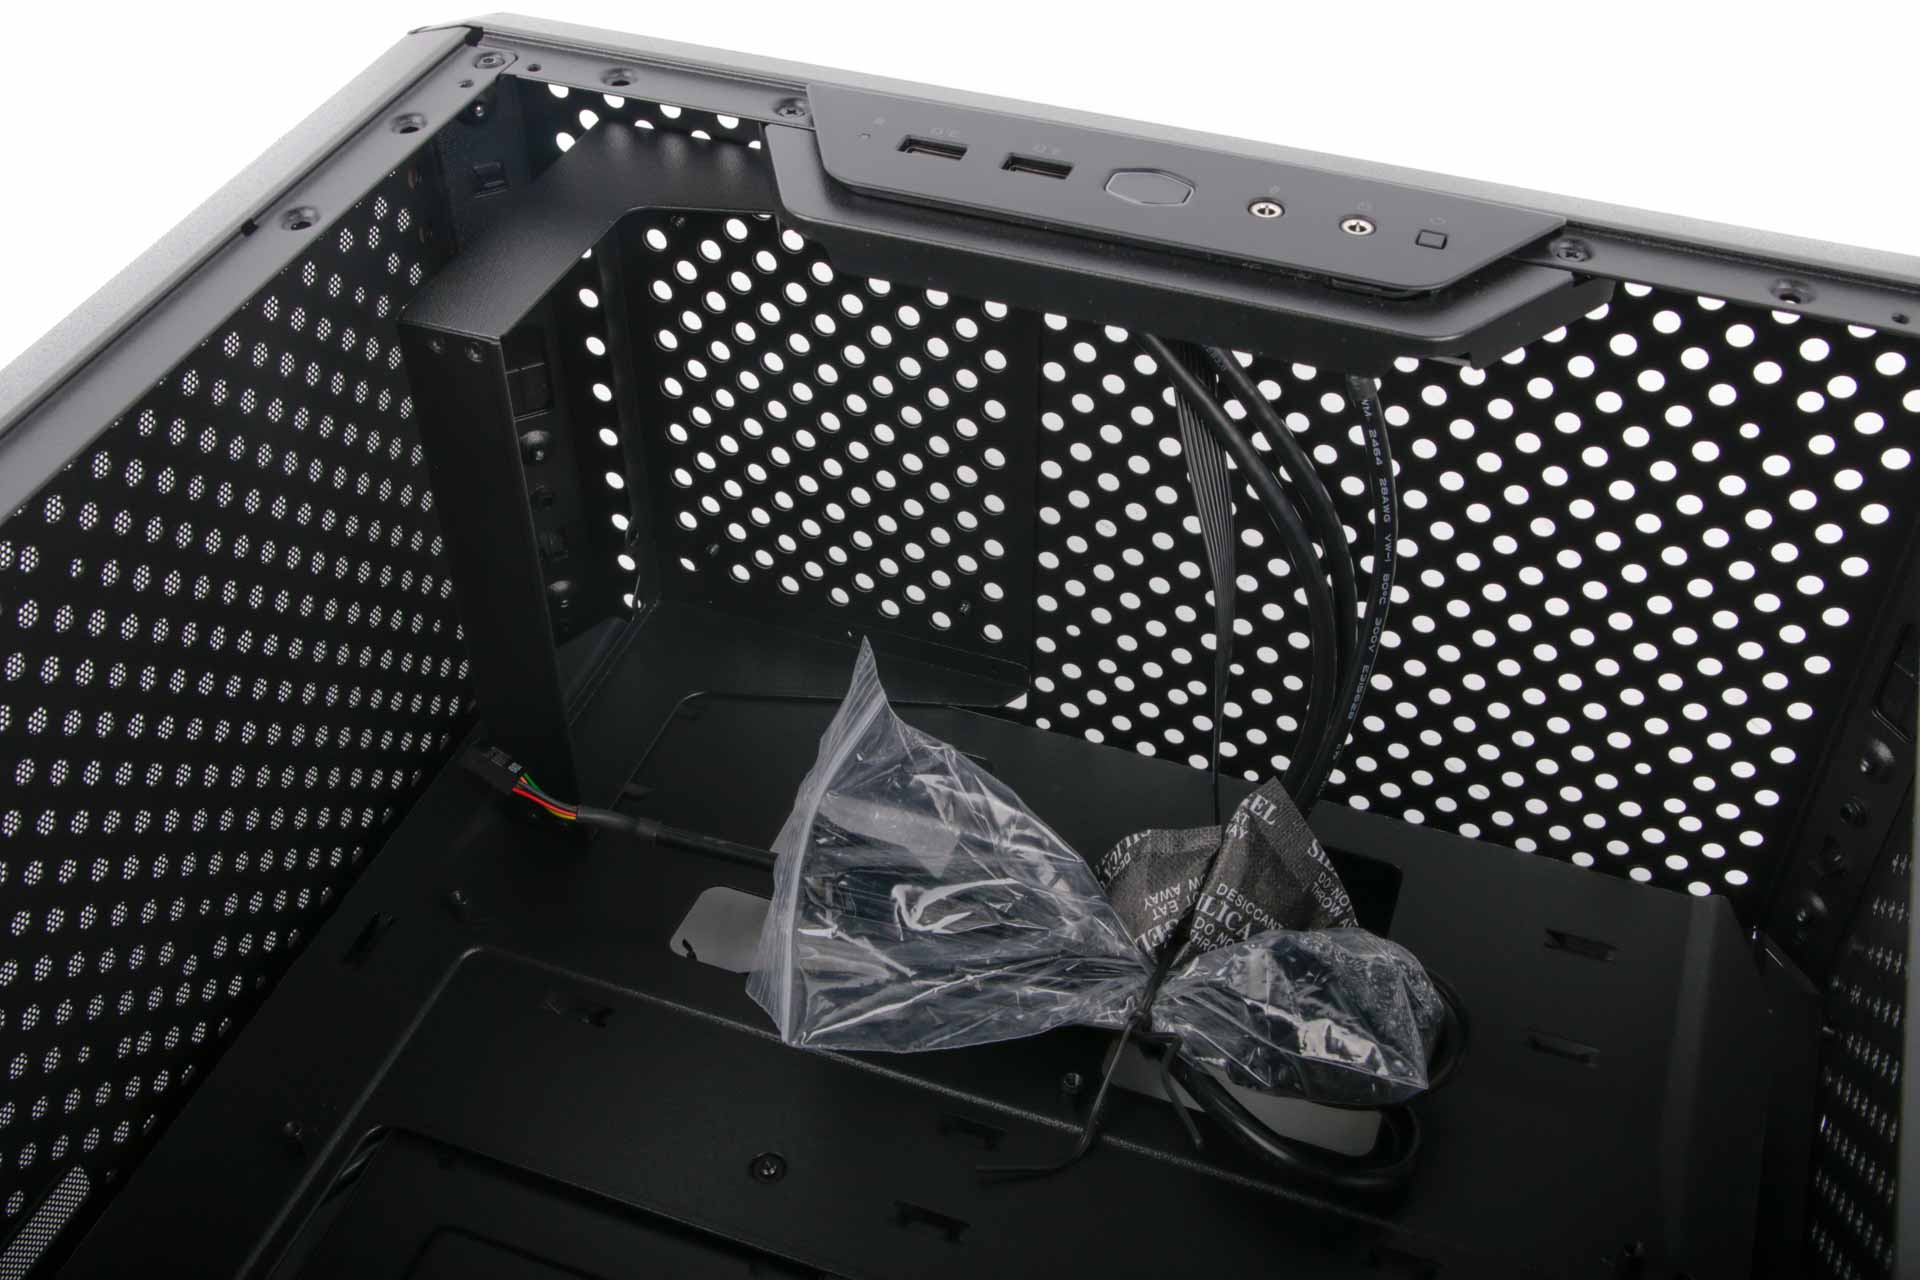
The PSU will also impact on GPU clearance if it's longer than 160mm and blocks the front air vents, hampering airflow - the reason why those bottom fan mounts are so important. The PSU will also be dumping its exhaust air into the case, albeit towards the top vents. The mount can be repositioned in the bottom of the case, but only if you use a mini-ITX motherboard.

MSI MPG Velox 100R Chassis Review
October 14 2021 | 15:04



Want to comment? Please log in.