
Interior
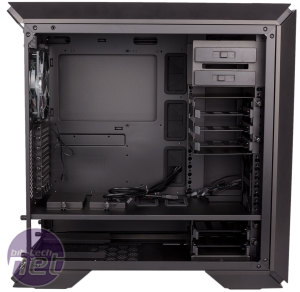
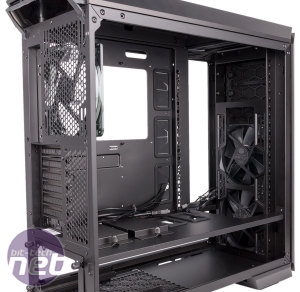
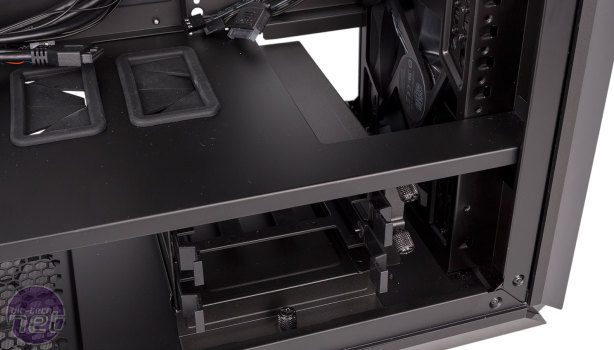
While accessing the side panels is made a bit fiddly by the rear cable management shroud, the panels themselves have a commendable design that does away with notches and rails in favour of front and bottom hinges that are wonderfully easy to work with.We've reviewed a number of MasterCase models by this point, so the internal layout is very familiar. It's divided into two chambers by a non-removable steel partition, with the PSU and a couple of drive mounting points situated in the lower chamber and the remaining hardware going into the main one. There's plenty of clearance for large components, including 190mm for CPU coolers and 412mm for graphics cards, which drops to 296mm if you have a HDD cage installed up front in line with your PCI-E expansion slot – this will only restrict the very biggest of cards on the market, as very few stretch beyond 300mm nowadays.
As mentioned, the solid front panel means the ODD cage is unlikely to be used, although tool-free installation clips are present for anyone that does need it. The cage can be removed via four thumbscrews, and this frees up considerable space. A bracket is supplied so that users can install a third 120mm or 140mm front intake fan in its place. Meanwhile, a trio of Molex adaptors are supplied so you can power all three default case fans directly from your PSU if you wish.
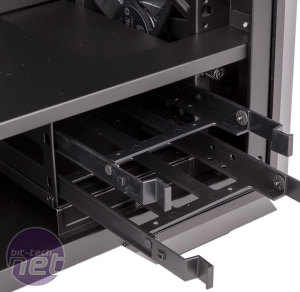
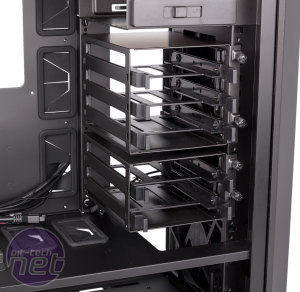
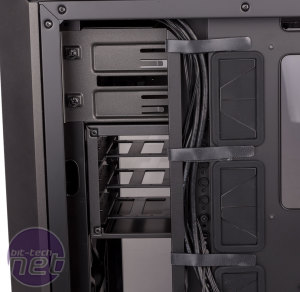
Beneath the optical drive cage is a triple-bay internal drive cage that naturally supports 3.5in and 2.5in drives. This is complemented by a two-bay cage in the lower cavity. Each plastic drive tray offers tool-free installation for larger mechanical drives as well as rubberised mounting points to dampen vibrations. The so-called Clip-and-Click panel – the vertical bar with holes in it that runs the height of the upper cavity – can be used to adjust the position of the upper drive cage and is also used to support other accessories like additional drive cages or Cooler Master's VGA support bracket. Meanwhile, the lower drive cage is installed on a set of rails, which can be moved further back into the case to make way for water-cooling hardware up front, for example. It could also be removed completely or even installed in the upper section.
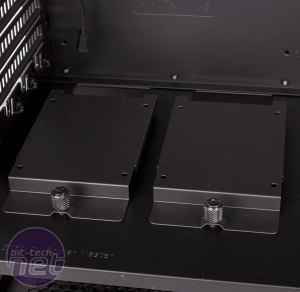
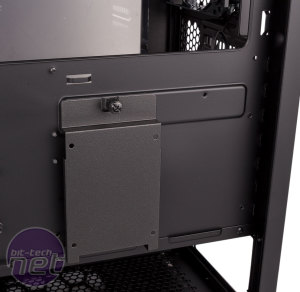
There are four possible dedicated SSD mounting points in this case: two on top of the steel partition (the default positions) and two behind the motherboard tray. Each position needs a Slip-and-Clip SSD tray, two of which are provided with the case (extras can be bought separately). These are simple to use; each is installed and removed via a single thumbscrew.
280mm and 240mm radiators are supported in the top and front positions; it may be possible to extend this to 360mm in the front, but there are no proper mounting holes for the uppermost fan. Also, in the roof, 297mm is the length limitation, so it's worth checking measurements before buying anything. Up front, the thickness behind the front fans can reach nearly 50mm if you move the drive cage back a position, or at least 80mm if you remove it completely, at which point the steel partition will be your limitation. We do think a bit of extra support for custom loops (i.e. pumps and reservoirs) would be a welcome touch; this is a £130+ case, after all.
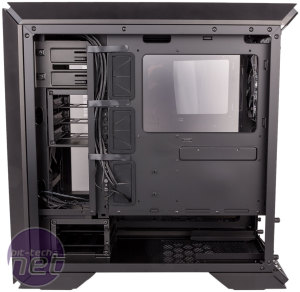
With 25-35mm of room behind the motherboard tray and a useful hinged side panel, cable management is a strong point for this case. Further helping things a lot is a set of great routing holes that are large, sensibly positioned, and protected by flexible rubber grommets. We also like the inclusion of holes in the partition, as these are useful for GPU power connectors, for example. Velcro cable ties are another bonus, and Cooler Master also provides a couple of sticky-back cable clips and a few standard zip ties as well.

MSI MPG Velox 100R Chassis Review
October 14 2021 | 15:04




Want to comment? Please log in.