Installation
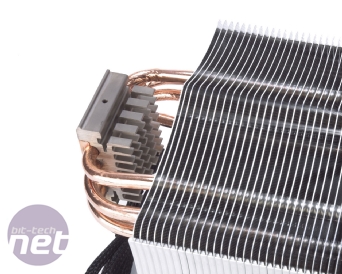
Fitting the Tranquillo to our Intel motherboards was pleasingly simple. You need to screw retention clips directly to the cooler via the aluminium mounting block, before securing these to the backplate via four sprung screws. These screws require a flat-head rather than a Phillips-head screw driver to tighten – not a major inconvenience we know, but it goes against the usual convention.Mounting for AMD’s Socket AM2, AM2+ and AM3 motherboards is even easier, as the Tranquillo uses the standard AMD backplate and two retention clips attached to the same mount points on the cooler as the Intel bracket. As always, the AMD bracket is not repositionable for chassis with different cooling layouts, whilst the symmetrical nature of Intel’s mounting points allows you to orientate the Tranquillo as needed.
It’s also worth noting that while Gelid does include a tube of its own brand of TIM, there’s precious little here for more than a couple of applications. Even then, the GC Extreme thermal compound was a devil to spread evenly, acting like a putty under pressure and clumping infuriatingly. The cooler’s manual advises you to simply deposit a blob onto the centre of your CPU and then fit the cooler on top, rather than spread it around first. In the end, this is what we were forced to do because achieving an even spread ourselves was incredibly difficult.
Once the heatsink itself is fitted things sadly got a lot trickier thanks to our old friends, fan retention wires. As per usual, these were an absolute pig to fit, either into their grooves in the sides of the heatsink or into the fan’s screw holes for a secure purchase. Doing so in an already cramped case is an exercise in frustration and anger management. While perfectly firm once fitted, the process was a real chore and we can’t help but wish that manufacturers would come up with a more finger-friendly way to fit them.
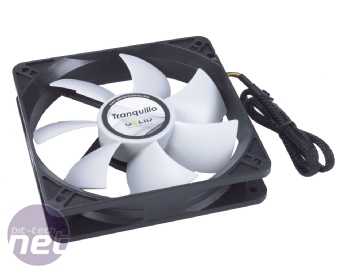
The fan itself has a well-balanced fluid bearing and is certainly a step up from what we’re often handed with a new CPU cooler. The fan features an inbuilt PWM sensor, automatically adjusting the fan’s speed from 750-1500 rpm whilst keeping things encouraging quiet and somewhere in the region of the claimed noise level of 12-25.5dBA. Hopefully this will mean that the Tranquillo will live up to its serene and silent name, when we strap it to the bit-tech test system and heat things up!

MSI MPG Velox 100R Chassis Review
October 14 2021 | 15:04


Want to comment? Please log in.