Preparing a bootable flash drive...
From the console, we first need to refresh the package management system, so it knows what packages can be installed. This requires the Xandros repos to be installed – we discussed how to do this on page two.sudo apt-get update
Once this is done, we are going to install a few tools that help us create our bootable USB memory key. These can all be removed afterwards if you feel it necessary – although gparted is a tool worth hanging on to.
sudo apt-get install mbr gparted syslinux mtools file-roller

Then run gparted by typing “sudo gparted” at the console. What you will be given is very similar to any other partition manager you might have seen. On the top right hand corner, you will see a list of possible devices. Be sure to select the correct drive before starting to fiddle. In my case the 1GB flash drive was /dev/sdc. This will be different depending on how many devices are plugged into your system, and may change upon reboot – so always double check.

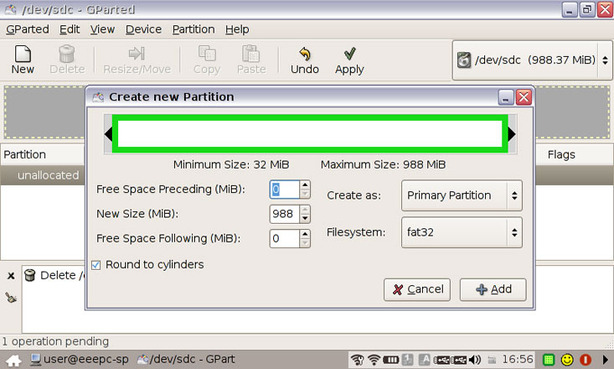
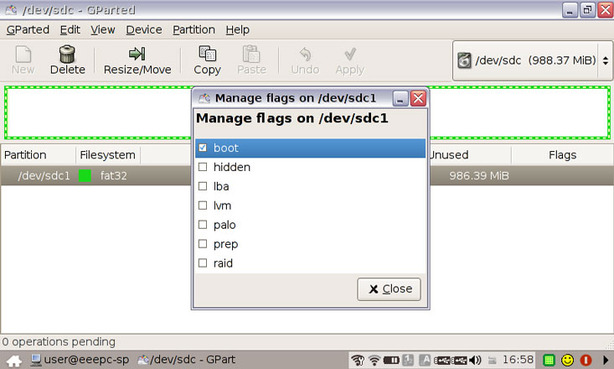
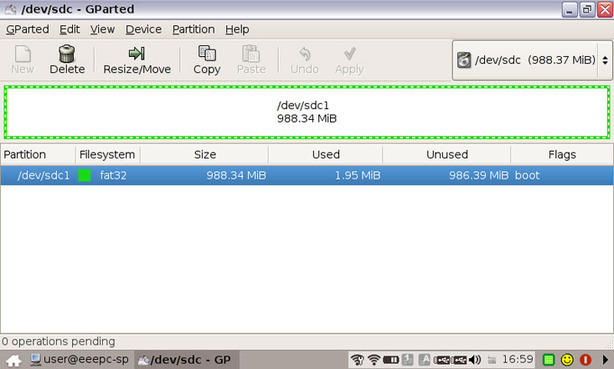
Delete all previous partitions on the drive, and create a single FAT32 partition. Apply the operations before you can continue to the next step. Once the operations have finished, right click on your new partition and click “manage flags”. From there, select “boot” and it should automatically update. You should end up with something like this:

If all is well, you can quit gparted. Now we will install the mbr and syslinux, making sure to use the correct label for your flash drive.
sudo install-mbr /dev/sdc
sudo syslinux /dev/sdc1

MSI MPG Velox 100R Chassis Review
October 14 2021 | 15:04


Want to comment? Please log in.