Installing New Software
Now that you have some decent backup software running – you can start to fiddle around with the Eee PC’s operating system a bit more. I found that the best thing to do was to make a backup before I installed anything new – you never know what could happen when using an unofficial repos. A few things are missing from the default installation that I felt needed installing to improve the overall Eee PC experience.If want to take a more graphical approach to installing software, you can use the Synaptic package manager. This can be accessed by running:
sudo apt-get update
sudo synaptic
However, I had flaky problems with Synaptic, so instead I stuck to using apt-get at the command line – it’s really very simple to use, so don’t let the command line put you off.
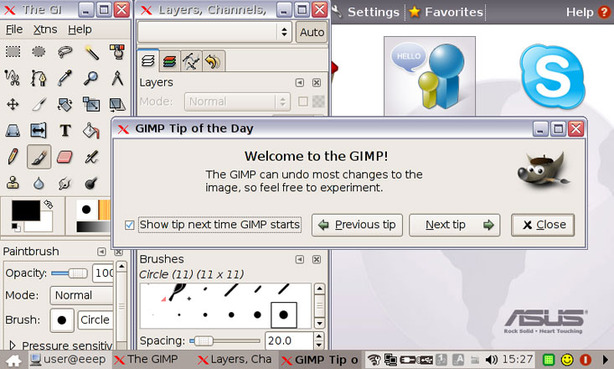
The GIMP
The Eee PC really suffers from the lack of a decent photo editor. I use The GIMP on a daily basis and have grown to love using it. That said it does struggle a little bit with the Eee PC’s low desktop resolution but, even despite this, it is still my preferred choice.To install it, you’ll first need to set up the Xandros repos – we mentioned how to do this on page two. Once the Xandros repos is running, you need to run the following from the console:
sudo apt-get update
sudo apt-get install gimp gimp-data-extras gimp-help-en
To run GIMP, just type “gimp” at the console. For those that aren’t comfortable using the console for almost everything, you'll also find an icon for the programme on the menu in full desktop mode – I'll show you how to add it as an icon in “Easy Mode” later.

Microsoft Fonts
Although the included Linux fonts do a pretty good job of replacing standard Microsoft fonts, you'll notice a few web pages don't render quite as well as they should. Luckily, there is a package that pulls the fonts directly from Microsoft's website and installs them for you. To install them – you need to do the following at the command line:sudo apt-get update sudo apt-get install msttcorefonts
The only downside to this package is that Tahoma is not included. If you have any specialist fonts you need to install—assuming you have permission to do so—you just need to place the “.ttf” file in '/usr/share/fonts'.

MSI MPG Velox 100R Chassis Review
October 14 2021 | 15:04


Want to comment? Please log in.