More Windows SSD Tweaks
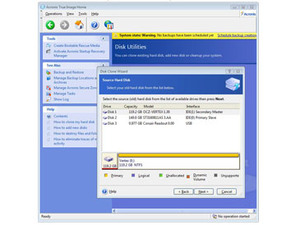
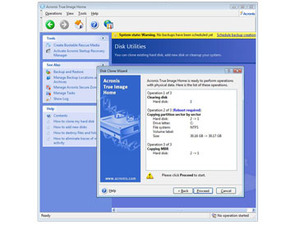
As SSD performance degradation often occurs following extended periods of multiple writes, installing an operating system and the numerous service and security updates, as well as programs and drivers involved in that process can make a real mess of an SSD’s performance. To avoid this, it’s worth looking into drive imaging software like Acronis TrueImage and installing your OS onto a separate drive before imaging the data onto your SSD.As the imaging process acts as one single continuous write instead of numerous small ones, it minimises the cell fragmentation that can decrease performance.
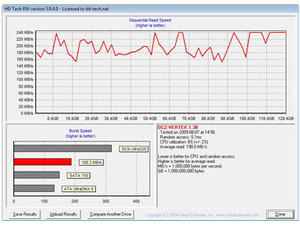
Below, we took the fragmented and performance degraded drive from Page 1 and imaged it to a brand new clean OCZ Vertex, immediately recovering 20MB/s of the lost write speed. Imaging software is also invaluable for creating exact backups of your drive if you plan to regularly update your SSD’s firmware, a process you should very much consider especially if using an Indilinx-based drive (such as the OCZ Vertex), as firmware updates arrive fairly regularly.


Click to enlarge - Acronis True Image is a powerful imaging tool, able to back up the full contents of a drive in just a few clicks
Damage Recovery
If you’ve had an SSD for a while running without these tweaks enabled though, it’s likely that you’re already a victim of performance degradation. While an effective garbage collection algorithm to restore performance is coming to Indilinx based SSDs, the most reliable way to restore an SSD to its original speeds is to perform a secure erase of the drive, for which we recommend using DOS based application HDDerase - don't forget to backup your data first though!Using a bootable flash drive it’s a simple application to use, but be aware that as it was originally developed for the NSA, once run on ANY disk drive the data deleted is totally irrevocable, so don’t use it lightly! You'll need to plug your SSD into either the P0, P1, S0 or S1 SATA ports for HDDerase to recognise the drive (refer to your motherboard's manual if unsure which port is which), and you'll also need to set the ports in question from Enhanced or AHCI SATA to Legacy mode in your motherboard's BIOS.


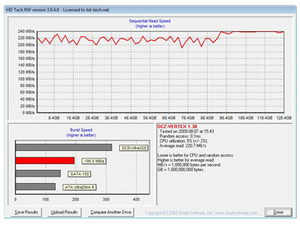
Click to enlarge - On the left is a fully abused Vertex and on the right the same install on the same drive after it was imaged off, the drive secure erased, and then imaged back
By combining an imaged backup of your heavily used SSD and a secure HDDerase wipe of degraded SSD, it’s quite possible to recover a significant amount of drive performance, even on a well used drive, as we've shown above.
Also of interest is that despite Windows 7’s much talked about support for SSDs, we’ve yet to see an SSD bearing any kind of “works with Windows 7” logo. We’ve learned that this is due to Microsoft insisting that SSDs must show absolutely no signs of performance degradation even when filled to 100 per cent of their capacity to gain Windows 7 accreditation - quite a caveat for manufacturers to deal with. While no SSD currently on sale is able to make such a claim, what we’ve seen of Indilinx’s new garbage collection algorithm (Currently in a public beta program for OCZ Vertex users) certainly indicates that we’re not too far off from degradation free drives.
That's all for today, but we'll return in the future with more tips on how to optimise and tweak for SSD performance, as well as how to make the most of the limited drive capacity on offer. Did we miss any tips or tricks you know of? Have you taken the plunge and grabbed yourself some solid state goodness? Let us know your thoughts and experiences in the forum.

MSI MPG Velox 100R Chassis Review
October 14 2021 | 15:04


Want to comment? Please log in.