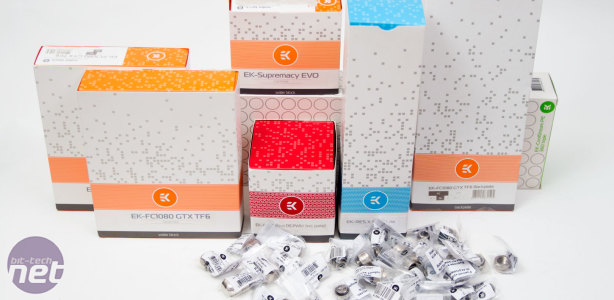
Speaking of liquid cooling, EKWB sent me a large goody box at the beginning of the year which just so happens to be perfect for this build! I do like EKWB because the hardware looks great, it is simplistic and clean and it performs well. I have popped over to the EK headquarters and everyone seems happy to work there and went out of the way to show me everything they enjoyed doing, so now I know that it seems to show when receiving their parcels.
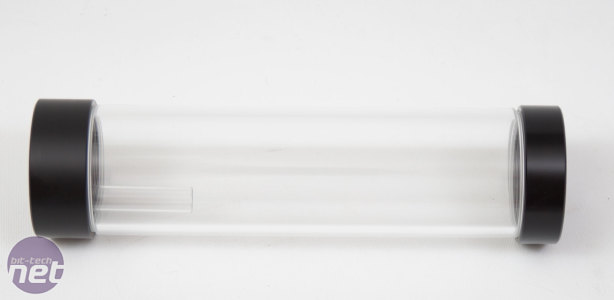
I will be using the EK-RES X3 250 Lite reservoir. These are made so that you can use a male-to-male fitting to attach directly to a pump which is nice. I want to try and mount this in a different way though if I can - and I have a plan. It will mean making some kind of cover out of aluminium and getting a little creative with the loop, but I think it will look great when it is finished.
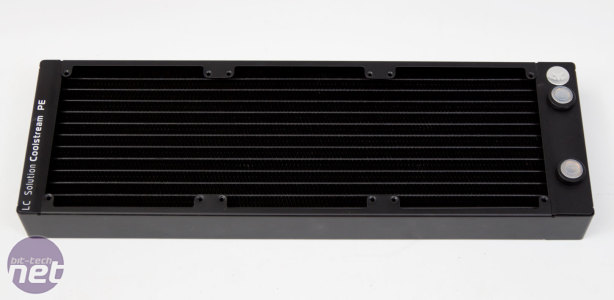
For the radiators we have gone with the trusty EK Coolstream PE. I use these a lot, and they are the medium-thickness radiators from EK and tend to fit in most spaces. If a rad is too thick or too bulky they struggle to fit in certain cases, so check before you buy.
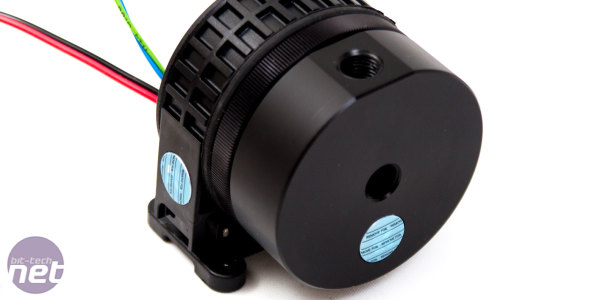
For the pump we have taken a D5 with the new EK-XTOP Revo pump top. I am a big fan of D5 pumps. In fact, out of all of my builds, I have only ever used 3 DDC pumps and all the others have been D5s. There is no real reason I prefer the D5 over the DDC, but I do find them to have a more favourable noise; the DDCs seem to 'whine' a little bit.
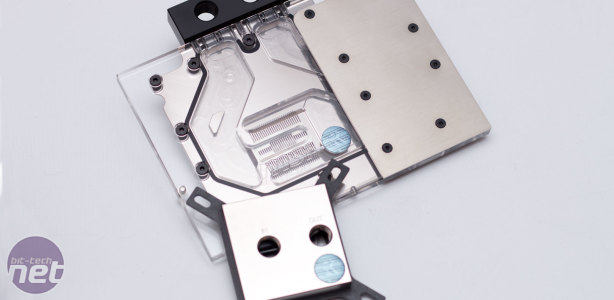
For the blocks we have gone for these beauties, yes, I called the blocks beauties. These look great and are some of my favourite blocks on the market. Admittedly I would have preferred full-cover blocks, but beggers can't be choosers. Both the GPU blocks and the CPU block will be kept as standard as they are already silver and I think they will compliment the build well.
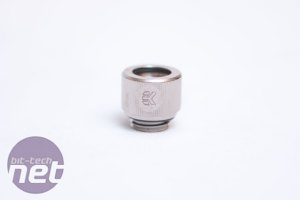
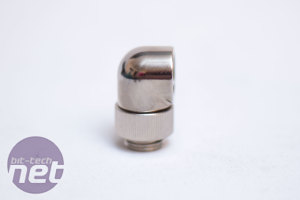
Chrome fittings will be connecting everything together. These are very silvery and will do the job fine, and we have gone for 12/10 HDC fittings which are the hardline compression fittings from EK. I prefer compression fittings over push fittings as they feel a little more secure, giving the user peace of mind. I use angled fittings regularly, well, to be more specific, just 90-degree fittings; if I need 45 degrees I generally just bend the tubing. There is nothing wrong with making 90-degree bends also, but I just personally prefer to make them using a fitting instead to keep things a little more clean.
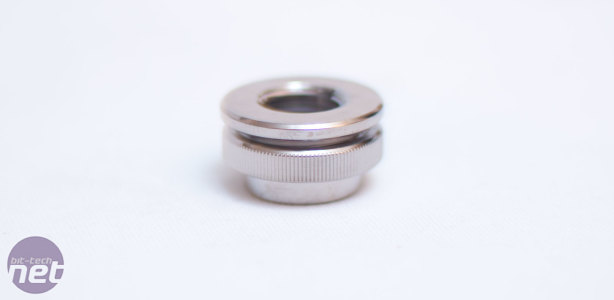
For this build I will also be using some pass-through fittings. These are basically to allow you to attach fittings either side of a panel. They are easy to use and you simply make a hole the width of the extruding part, push the fitting through the hole, then attach the screw ring to hold it in place. This will then give you a G1/4 thread on either side of the panel, making everything look neat and tidy. I am going to be using six of these which will be fun.
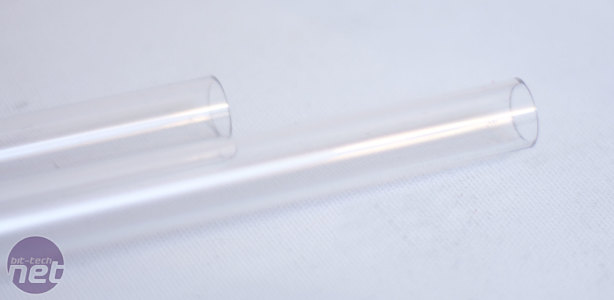
Finally, we have the tubing, and this is simply 12/10 PETG tubing from EK. I am not a huge fan of PETG, in all honesty; it doesn't seem to bend as nicely, doesn't look as clear and struggles under high temperatures, but it is getting increasingly difficult to find acrylic tubing. Acrylic does have some negative points too, because it is harder to cut, can chip or shatter and can go brittle, so there are pros and cons for both materials.
So, that is it for showing you the products! There are a lot of goodies which all look great on their own so hopefully, when we put the build together, they shall complement each other. Obviously there will be a lot of spray painting, a bit of metal fabrication and some creative loop design, but hopefully it will look great. It will be interesting to see how this one turns out as I have a few ideas in my head but some of them conflict with each other. It will also be slow going, there are quite a lot of products that don't follow the colour scheme that I want and I will have to try and change that on as much of the hardware as I can, this means spray painting a lot of stuff using rattle cans as I don't have an airbrush, something which I plan on changing in the future.
That is it for now! I shall see you all in the next part!

MSI MPG Velox 100R Chassis Review
October 14 2021 | 15:04




Want to comment? Please log in.