
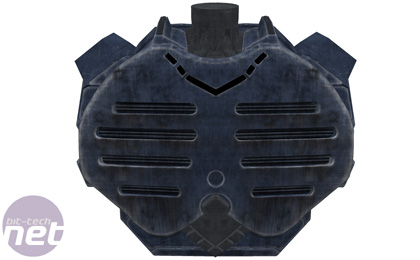
The Chest
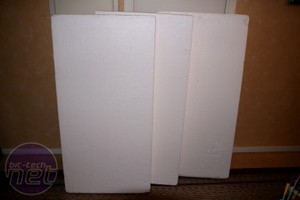
Given the timescale and budget for this project there was really only one technique. I used it for my Dragon Head mod and it's a great way of creating large shapes relatively quickly and quite cheaply. The idea is to build up a block of polystyrene from which you carve your shape. Sounds simple, right?Well, for starters, you can't just buy a solid block of polystyrene the size of a fridge. The next best approach is to buy it in sheets which you can layer up like plywood until you reach your required thickness. The sheets are 10cm thick so for the basic structure of the chest I needed three sheets.
Right from the beginning, THQ said that they wanted the ACU to be powered by a top-end gaming PC, hence the spec on Page 1. This meant that my original Plan A of using a small VIA EPIA motherboard like my Alloy wheel mod went out the window.
Actually, it's all very simple cause and effect if you think about it: quad-core dictates a full-size ATX motherboard; that in turn means the chest cavity has to be a certain size; in order to keep the final mod in the same proportion as the 3D Studio Max model, a chest of a certain size means the rest of the ACU also must be of a certain size. You'll find out later just what that meant.
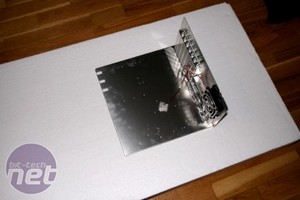
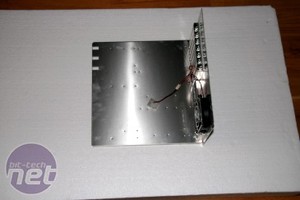
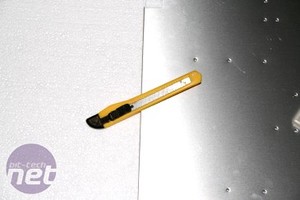
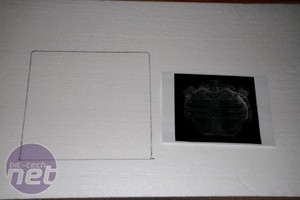
Using the motherboard tray from an spare Lian-li case as a template I drew a simple rectangle on the polystyrene to give me the minimum dimensions.
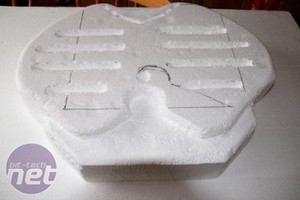
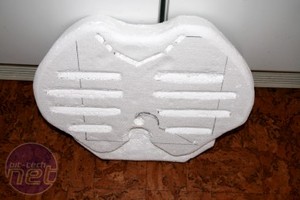
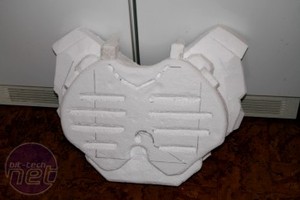
Using a render of the chest section for reference I then carved the basic shape freehand using a knife. Preliminary details such as the eight chest vents were added at this point.
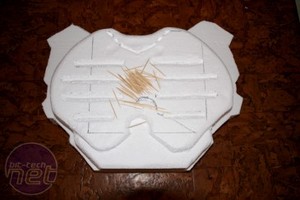
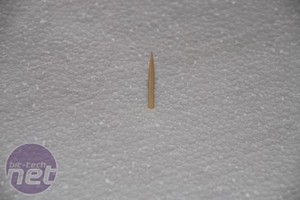
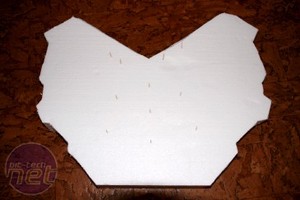
After templating and cutting out the main rear section it came time to pin the two pieces together. The tool for the job: the humble toothpick (or cocktail stick, depending on where you're from). These are great for a secure-yet-non-permanent bond between pieces.

MSI MPG Velox 100R Chassis Review
October 14 2021 | 15:04



Want to comment? Please log in.